This example is only compatible with CLI v1.20 and later. Should you be making
use of an older version of the CLI, please run pip install --upgrade cerebrium to upgrade it to the latest version.
Basic Setup
Developing models with Cerebrium is similar to developing on a virtual machine or Google Colab, making conversion straightforward. Make sure you have the Cerebrium package installed and are logged in. If not, check our docs here.
First, create your project:
cerebrium init 5-streaming-endpoint
[cerebrium.dependencies.pip] section of your cerebrium.toml file:
[cerebrium.dependencies.pip]
peft = "git+https://github.com/huggingface/peft.git"
transformers = "git+https://github.com/huggingface/transformers.git"
accelerate = "git+https://github.com/huggingface/accelerate.git"
bitsandbytes = "latest"
sentencepiece = "latest"
pydantic = "latest"
torch = "2.1.0"
main.py file for our Python code. This simple implementation can be done in a single file. First, let’s define our request object:
from pydantic import BaseModel

class Item(BaseModel):
    prompt: str
    cutoff_len: int
    temperature: float
    top_p: float
    top_k: float
    max_new_tokens: int
prompt parameter is required, while others are optional with default values. If prompt is missing from the request, users receive an automatic error message.
Falcon Implementation
Model Setup
from transformers import (
    AutoModelForCausalLM,
    AutoTokenizer,
    GenerationConfig,
    TextIteratorStreamer,
)
import torch

modal_path = "tiiuae/falcon-7b-instruct"

# Loading in base model and tokenizer
tokenizer = AutoTokenizer.from_pretrained(modal_path)
tokenizer.pad_token = tokenizer.eos_token
model = AutoModelForCausalLM.from_pretrained(
    modal_path,
    torch_dtype=torch.bfloat16,
    trust_remote_code=True,
    device_map="auto",
)
predict function. This ensures model weights load only once at startup, not with every request.
Streaming Implementation
Below, we define our stream function to handle streaming results from our endpoint:
def stream(prompt, cutoff_len=256, temperature=0.8, top_p=0.75, top_k=40, max_new_tokens=250):
    item = Item(
        prompt=prompt,
        cutoff_len=cutoff_len,
        temperature=temperature,
        top_p=top_p,
        top_k=top_k,
        max_new_tokens=max_new_tokens,
    )
    inputs = tokenizer(
        item.prompt, return_tensors="pt", max_length=512, truncation=True, padding=True
    )
    input_ids = inputs["input_ids"].to("cuda")

    streamer = TextIteratorStreamer(tokenizer)
    generation_config = GenerationConfig(
        temperature=item.temperature,
        top_p=item.top_p,
        top_k=item.top_k,
    )
    with torch.no_grad():
        generation_kwargs = {
            "input_ids": input_ids,
            "generation_config": generation_config,
            "return_dict_in_generate": True,
            "output_scores": True,
            "pad_token_id": tokenizer.eos_token_id,
            "max_new_tokens": item.max_new_tokens,
            "streamer": streamer,
        }
        model.generate(**generation_kwargs)
        for text in streamer:
            yield text  # vital for streaming
TextIteratorStreamer to stream model output. The yield keyword returns output as it’s generated.
Deploy
Configure your compute and environment settings in cerebrium.toml:
[cerebrium.build]
predict_data = "{\"prompt\": \"Here is some example predict data for your config.yaml which will be used to test your predict function on build.\"}"
hide_public_endpoint = false
disable_animation = false
disable_build_logs = false
disable_syntax_check = false
disable_predict = false
log_level = "INFO"
disable_confirmation = false

[cerebrium.deployment]
name = "5-streaming-endpoint"
python_version = "3.11"
include = ["./*", "main.py", "cerebrium.toml"]
exclude = ["./example_exclude"]
docker_base_image_url = "nvidia/cuda:12.1.1-runtime-ubuntu22.04"

[cerebrium.hardware]
region = "us-east-1"
provider = "aws"
compute = "AMPERE_A10"
cpu = 2
memory = 16.0
gpu_count = 1

[cerebrium.scaling]
min_replicas = 0
max_replicas = 5
cooldown = 60

[cerebrium.dependencies.pip]
peft = "git+https://github.com/huggingface/peft.git"
transformers = "git+https://github.com/huggingface/transformers.git"
accelerate = "git+https://github.com/huggingface/accelerate.git"
bitsandbytes = "latest"
sentencepiece = "latest"
pydantic = "latest"
torch = "2.1.0"

[cerebrium.dependencies.conda]

[cerebrium.dependencies.apt]
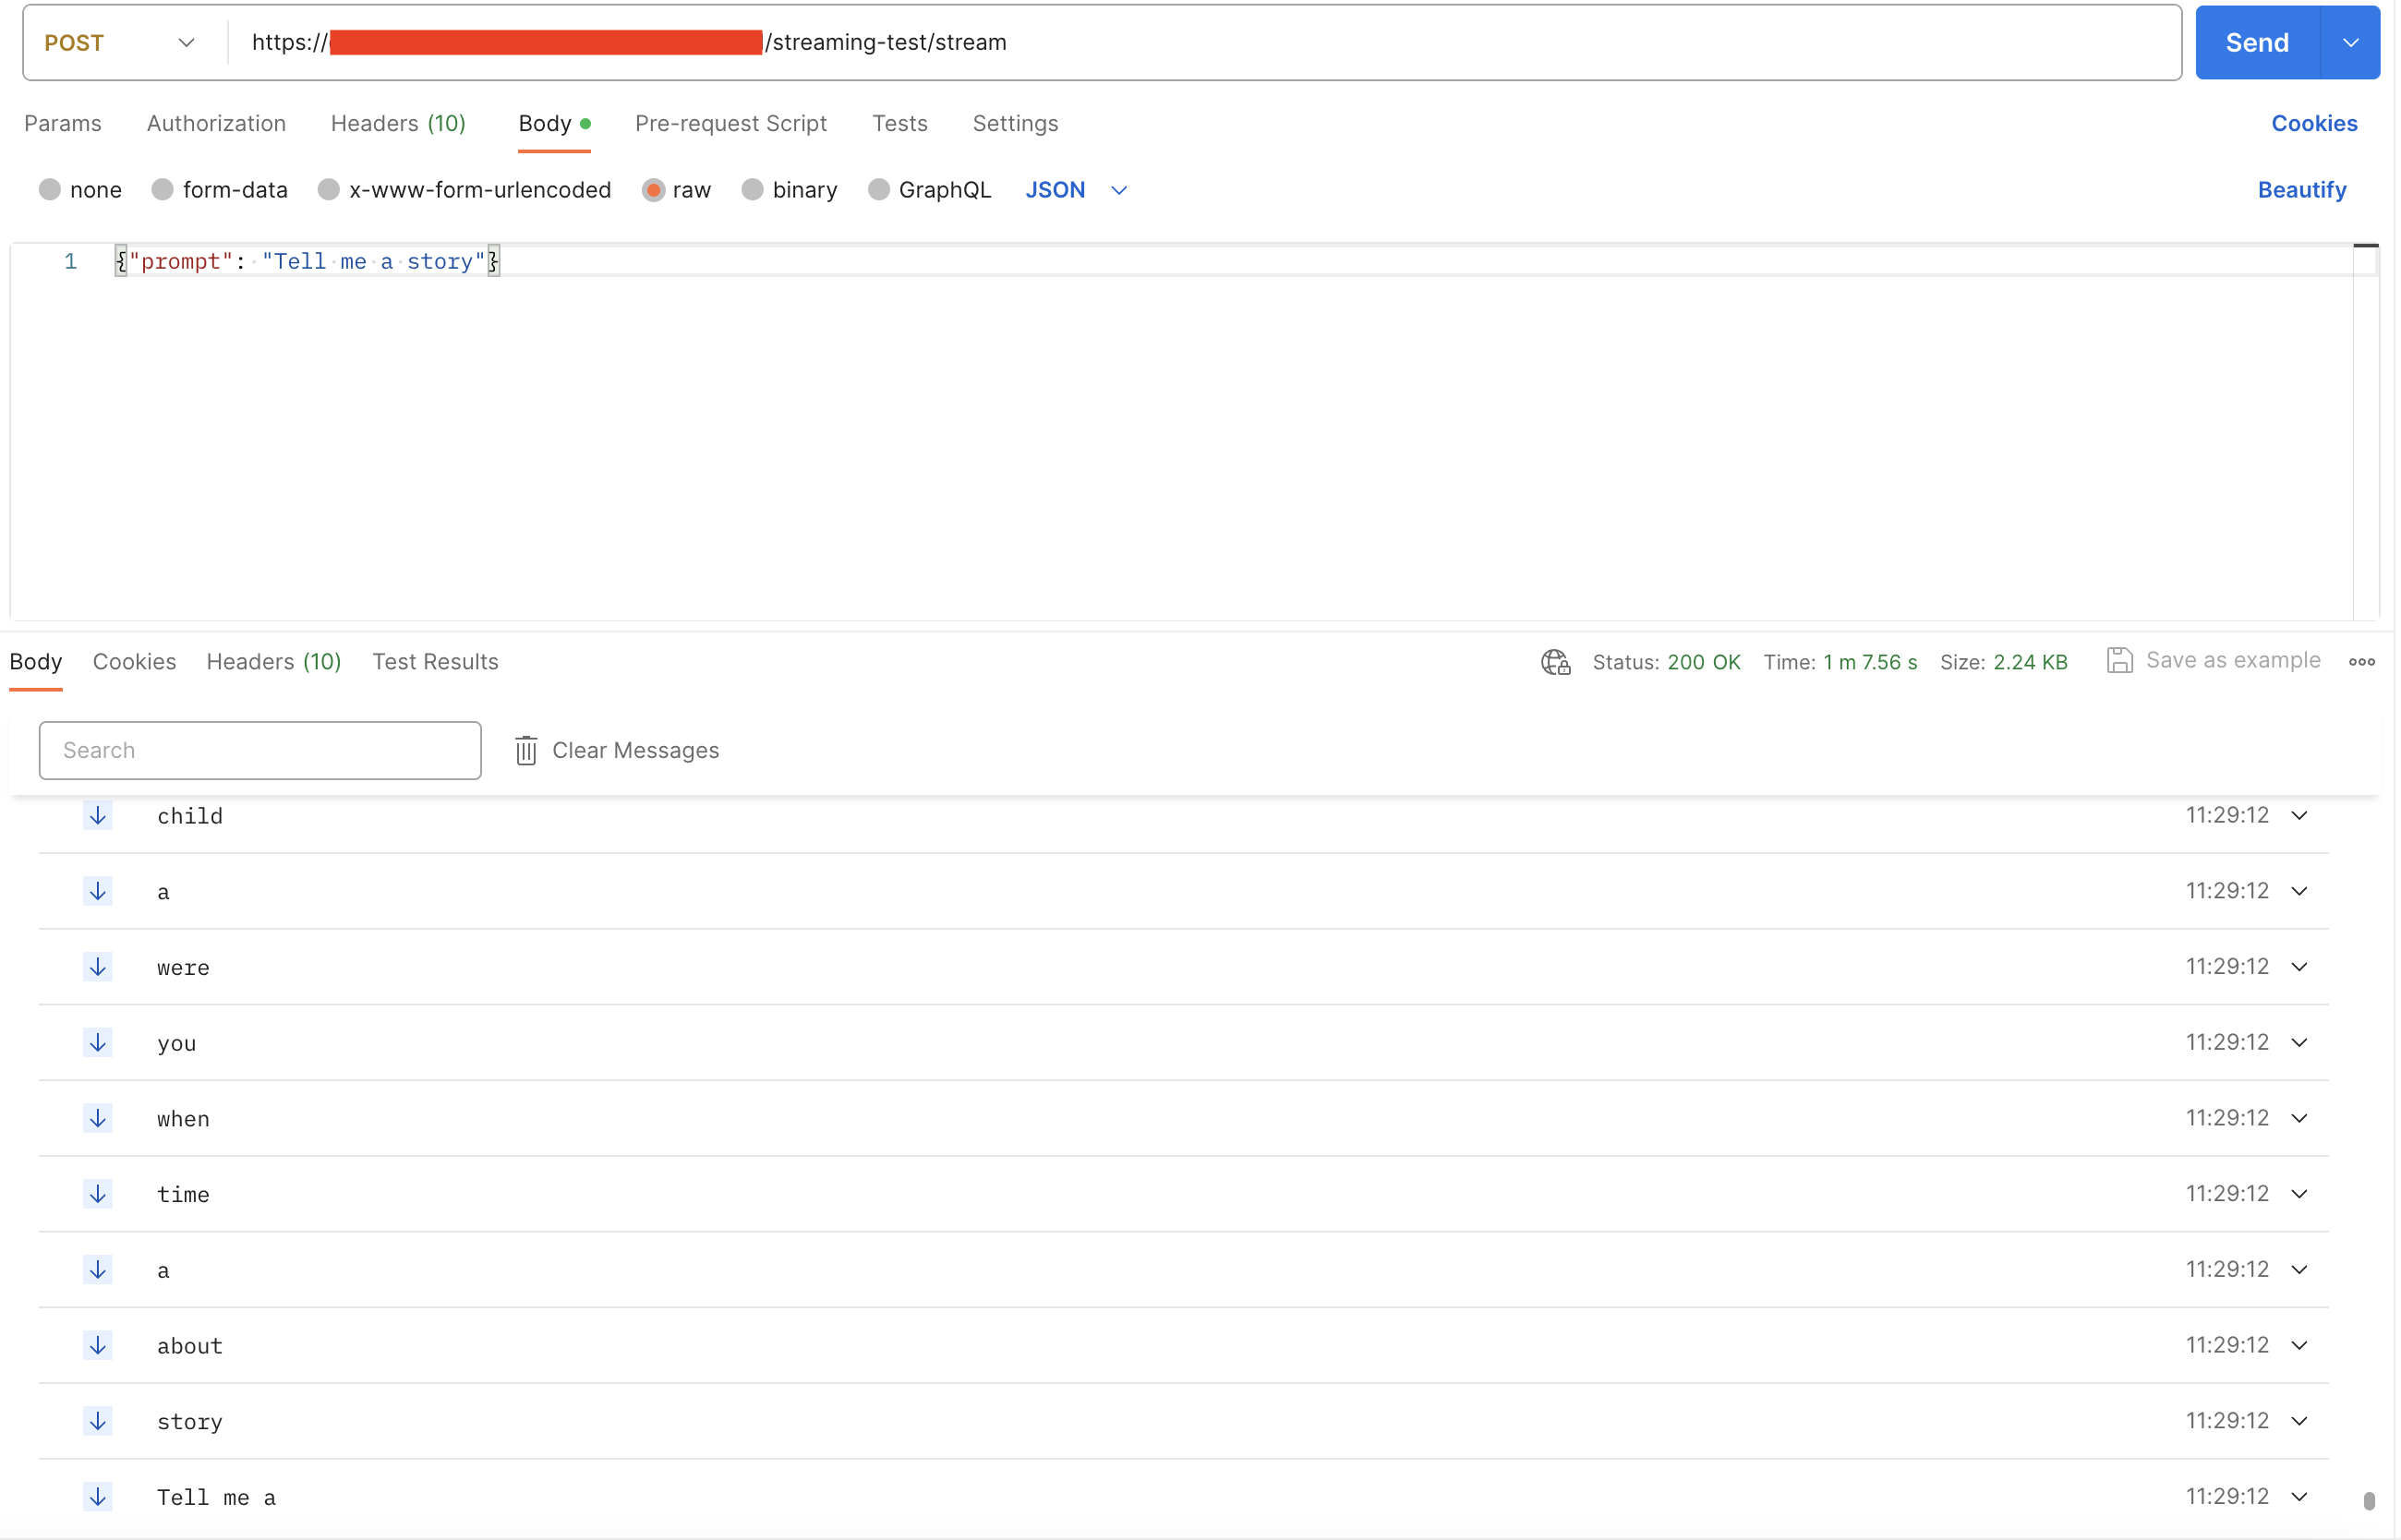
cerebrium deploy streaming-falcon
The endpoint path should include stream since that’s our function name.
curl --location --request POST 'https://api.aws.us-east-1.cerebrium.ai/v4/p-<YOUR PROJECT ID>/5-streaming-endpoint/stream' \
--header 'Authorization: Bearer <YOUR TOKEN HERE>' \
--header 'Content-Type: application/json' \
--data-raw '{
    "prompt": "Tell me a story",
}'

