Concepts
This app requires calendar interaction based on user instructions - an ideal use case for an agent with function (tool) calling capabilities. LangChain, a framework with extensive agent support, created LangSmith, making integration straightforward. A tool refers to any framework, utility, or system with defined functionality for specific use cases, such as searching Google or retrieving credit card transactions. Key LangChain concepts:ChatModel.bind_tools(): Attaches tool definitions to model calls. While providers have different tool definition formats, LangChain provides a standard interface for versatility. Accepts tool definitions as dictionaries, Pydantic classes, LangChain tools, or functions, telling the LLM how to use each tool.
AIMessage.tool_calls: An attribute on AIMessage that provides easy access to model-initiated tool calls, specifying invocations in the bind_tools format:
create_tool_calling_agent(): Unifies the above concepts to work across different provider formats, enabling easy model switching.
Setup Cal.com
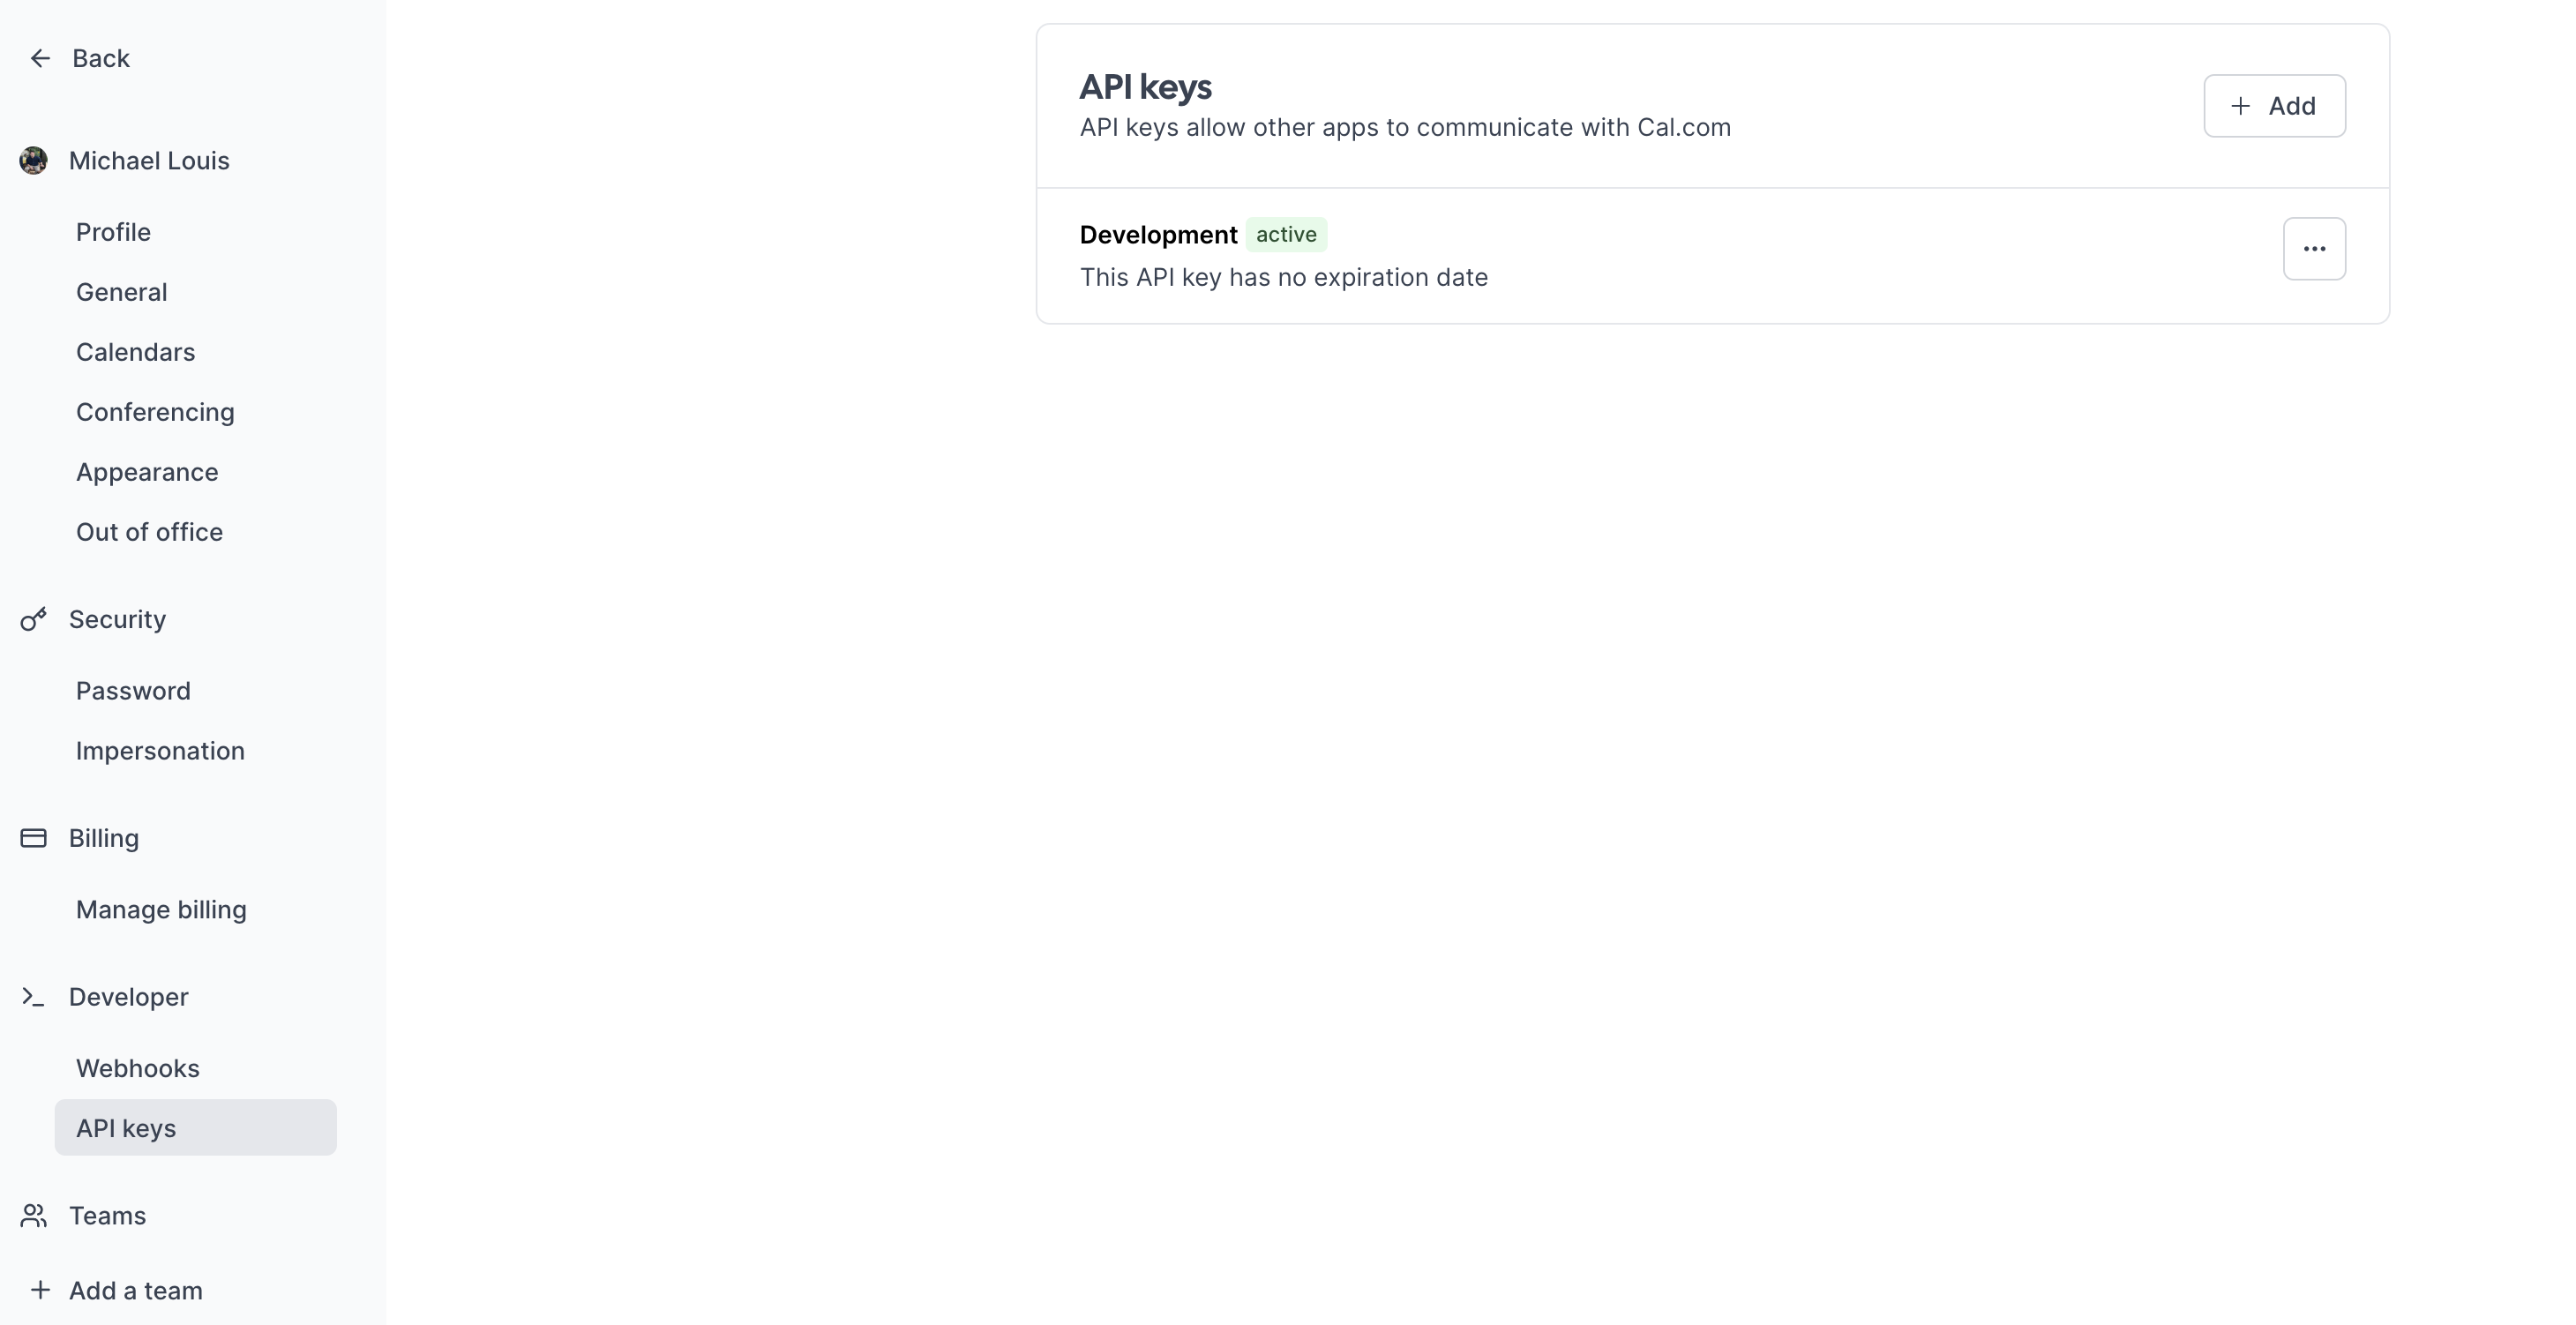
Cal.com provides our calendar management foundation. Create an account here if needed. Cal serves as the source of truth - any updates to time zones or working hours automatically reflect in the assistant’s responses. After creating your account:- Navigate to “API keys” in the sidebar
- Create an API key without expiration
- Test the setup with a CURL request (replace these variables):
- Username
- API key
- dateFrom and dateTo
- /availability: Get your availability
- /bookings: Book a slot
Cerebrium setup
Set up Cerebrium:- Sign up here
- Follow installation docs here
- Create a starter project:
This creates:
main.py: Entrypoint filecerebrium.toml: Build and environment configuration
cerebrium.toml:
- OpenAI GPT-3.5:
-
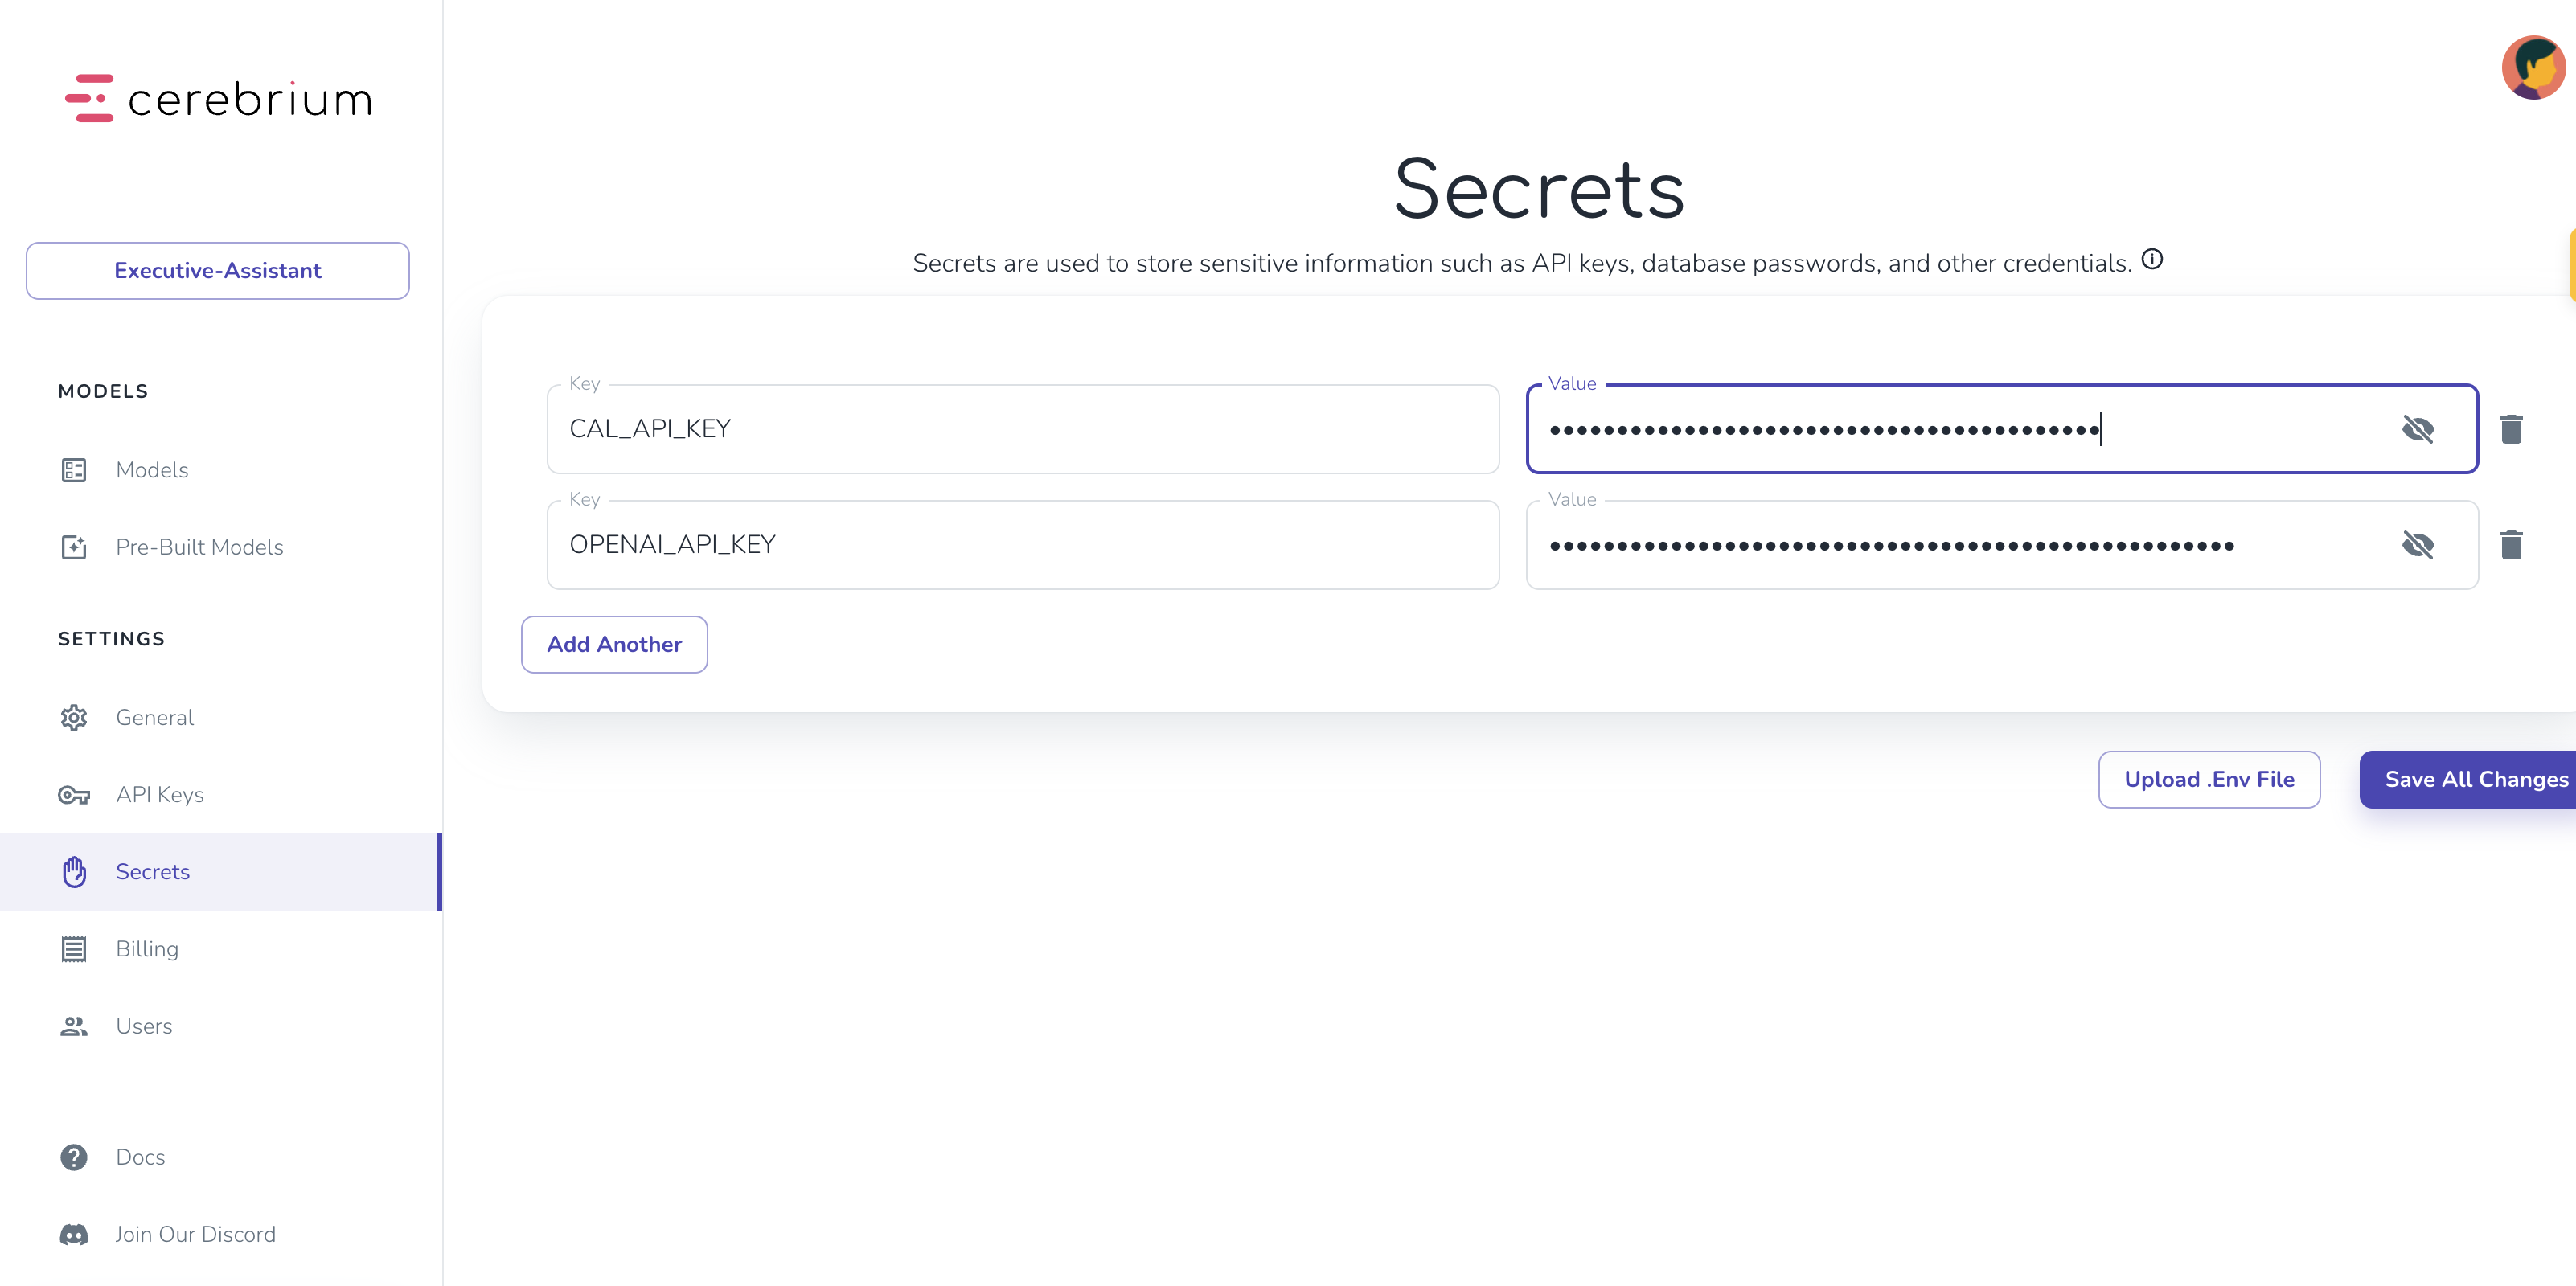
Add secrets in Cerebrium dashboard:
- Navigate to “Secrets”
- Add keys:
CAL_API_KEY: Your Cal.com API keyOPENAI_API_KEY: Your OpenAI API key
Agent Setup
Create two tool functions inmain.py for calendar management:
- Get availability tool
- Book slot tool
- Busy time slots
- Working hours per day
- Uses
@tooldecorator to identify functions as LangChain tools - Includes docstrings explaining functionality and required inputs
- Uses
find_available_slotshelper function to format Cal.com API responses into readable time slots
main.py file too:
- Our prompt template:
- This is where we can give instructions to our agent on what role it is taking on, its goal and how it should perform in certain situations etc. The more precise and concise this is, the better.
- Chat History is where we will inject all previous messages so that the agent has context on what was said previously.
- Input is new input from the end user.
- We then instantiate our GPT3.5 model that will be the LLM we will be using. You can swap this our with Antrophic or any other provider just by replacing this one line - LangChain makes this seamless.
- Lastly, we join this all together with our tools to create an agent executor.
Setup Chatbot
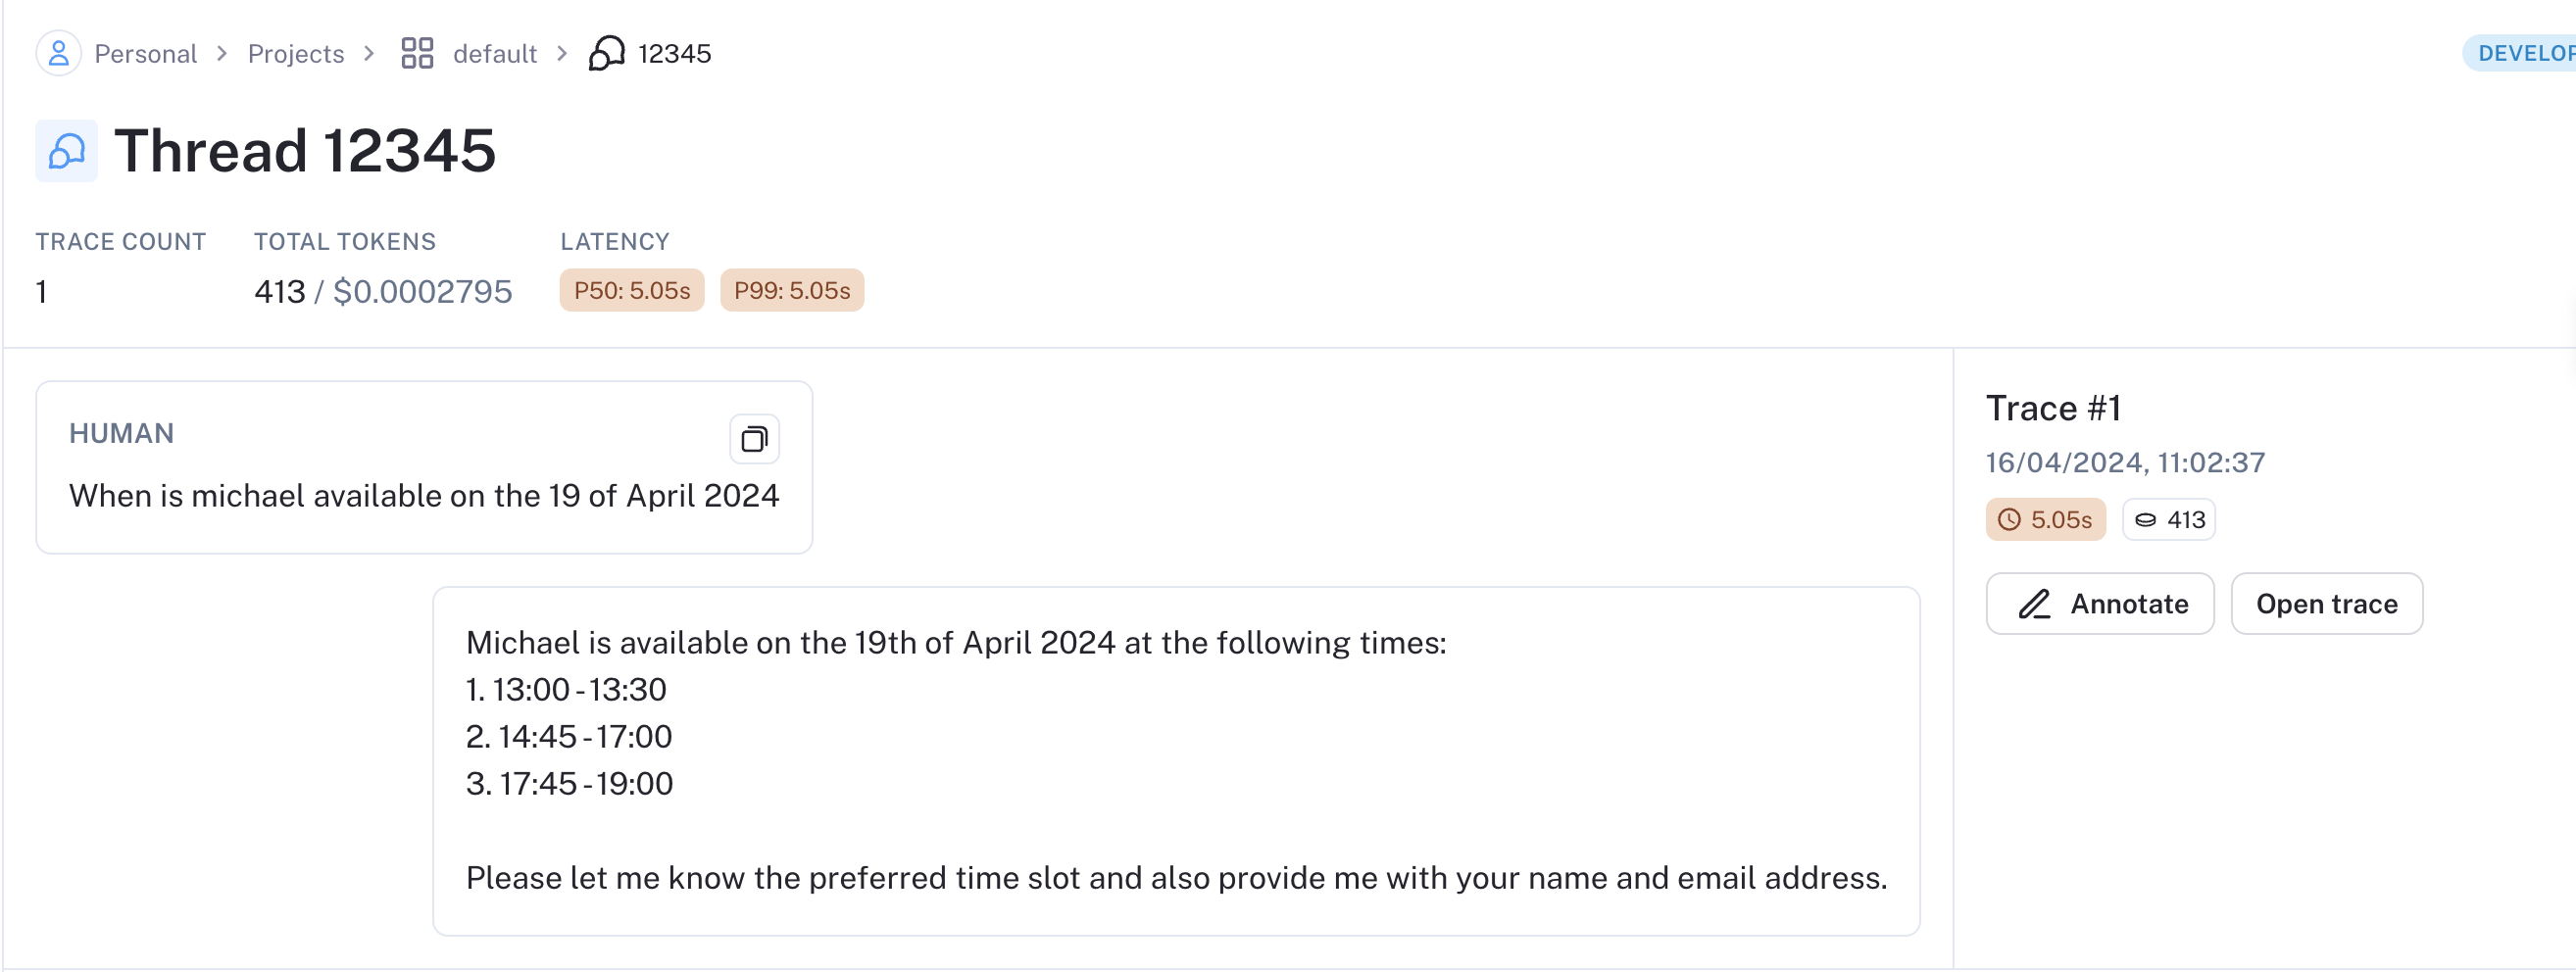
The above code is static in that it will only reply to our first question but we might need to have a conversation to find a time that suits both the user and my schedule. We therefore need to create a chatbot with tool calling capabilities and the ability to remember past messages. LangChain supports this with RunnableWithMessageHistory(). It essentially allows us to store the previous replies of our conversation in a chat_history variable (mentioned above in our prompt template) and tie this all to a session identifier so your API can remember information pertaining to a specific user/session. Below is our code to implement this:- We define a Pydantic object which specifies the parameters our API expects - the user prompt and a session id to tie the conversation to.
- The predict function in Cerebrium is the entry point for our API so we just pass the prompt and session id to our agent and print the results.
pip install pydantic langchain pytz openai langchain_openai langchain-community and then run python main.py to execute your main python file. You will need to replace your secrets with the actual values when running locally. You should then see output similar to the following:

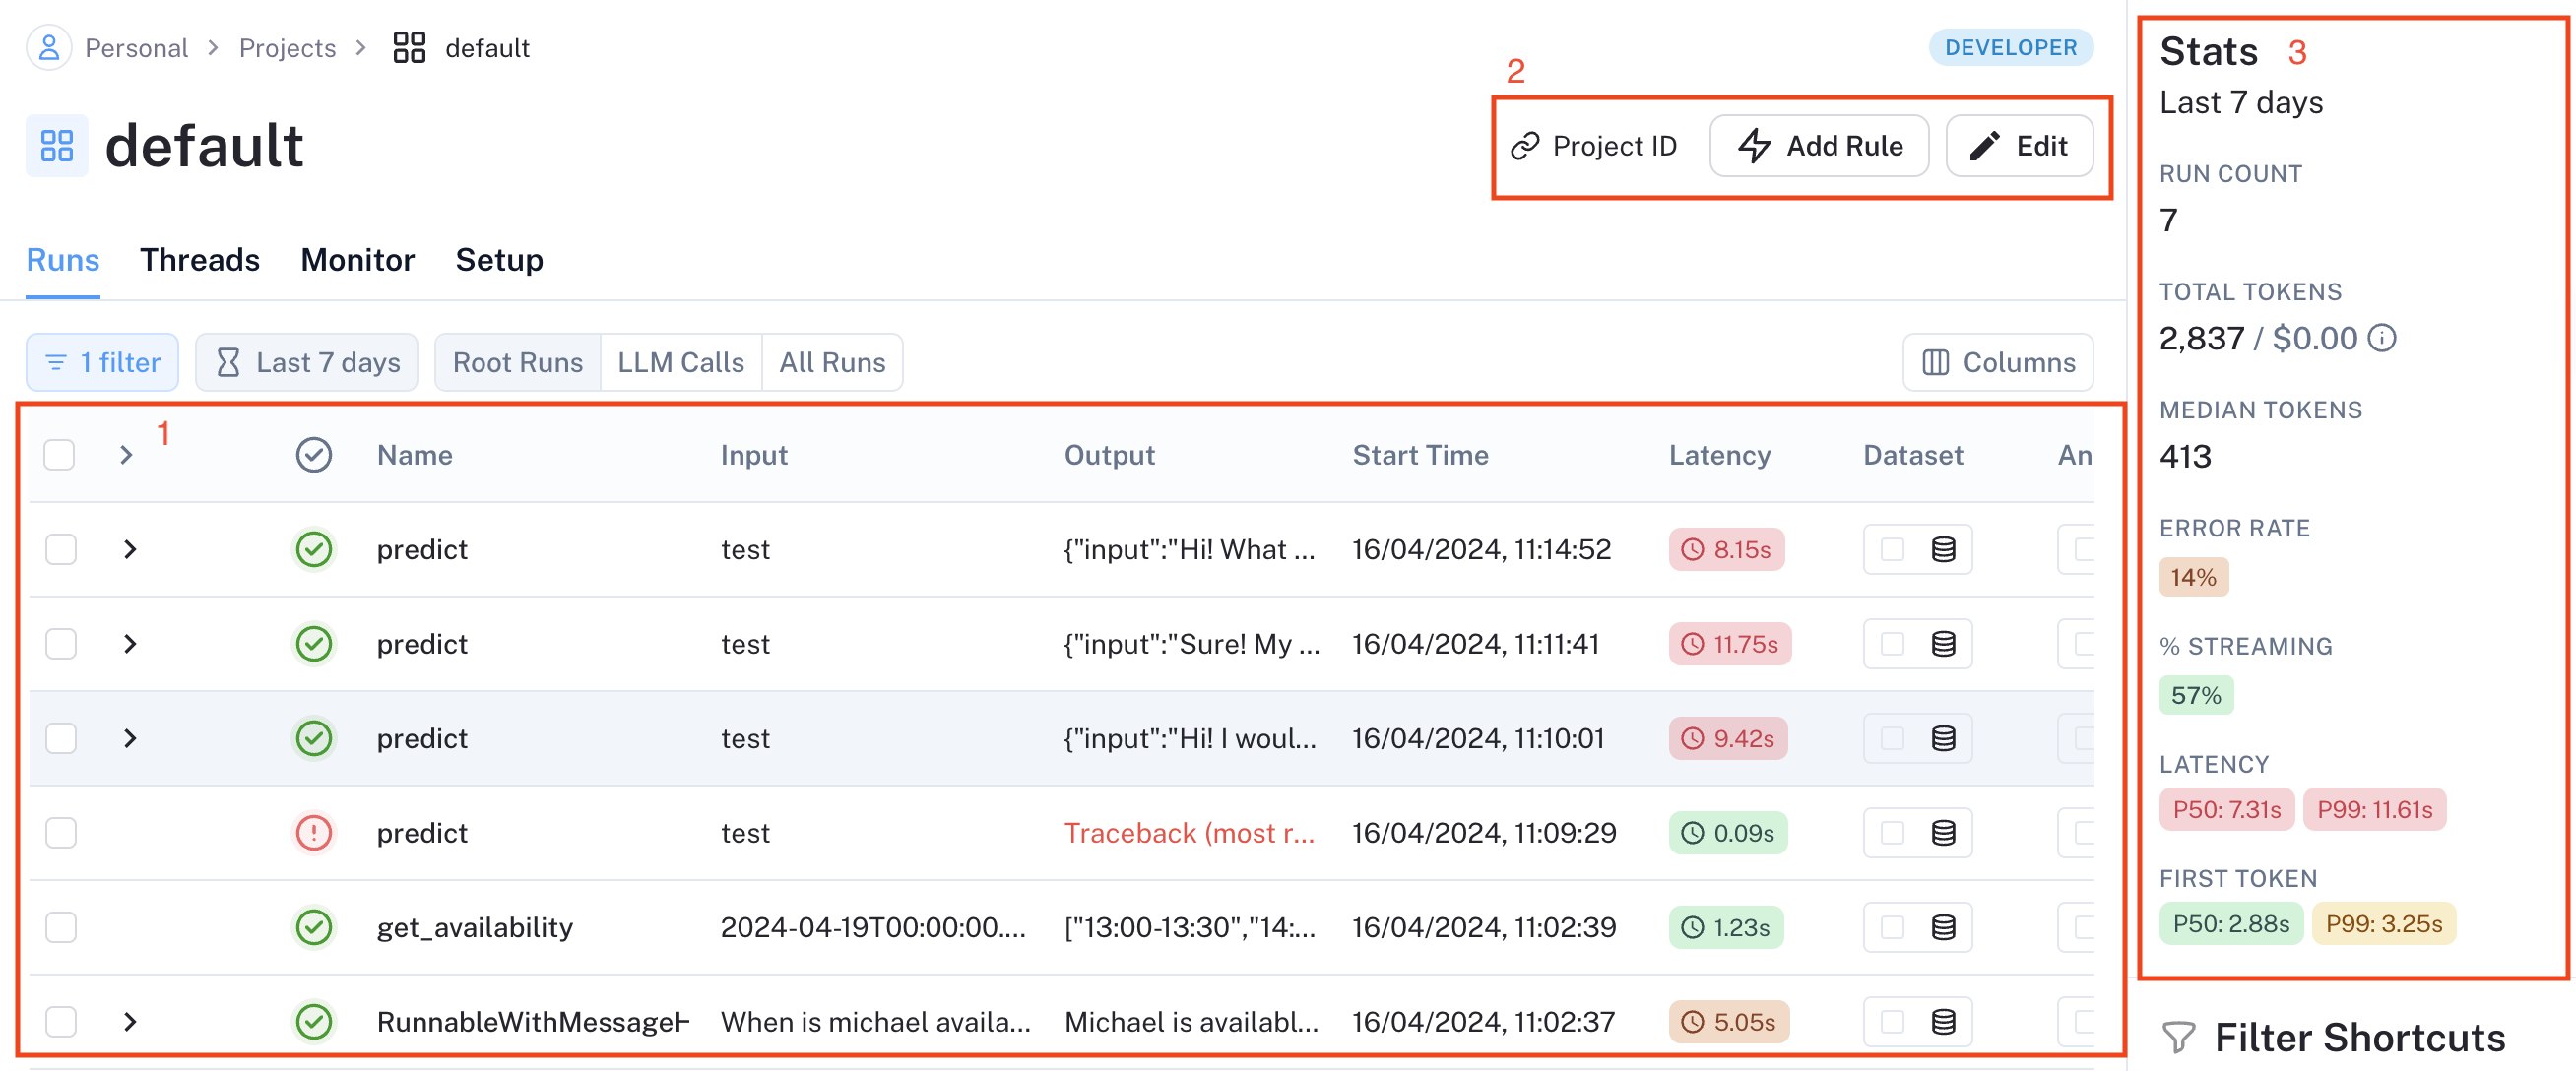
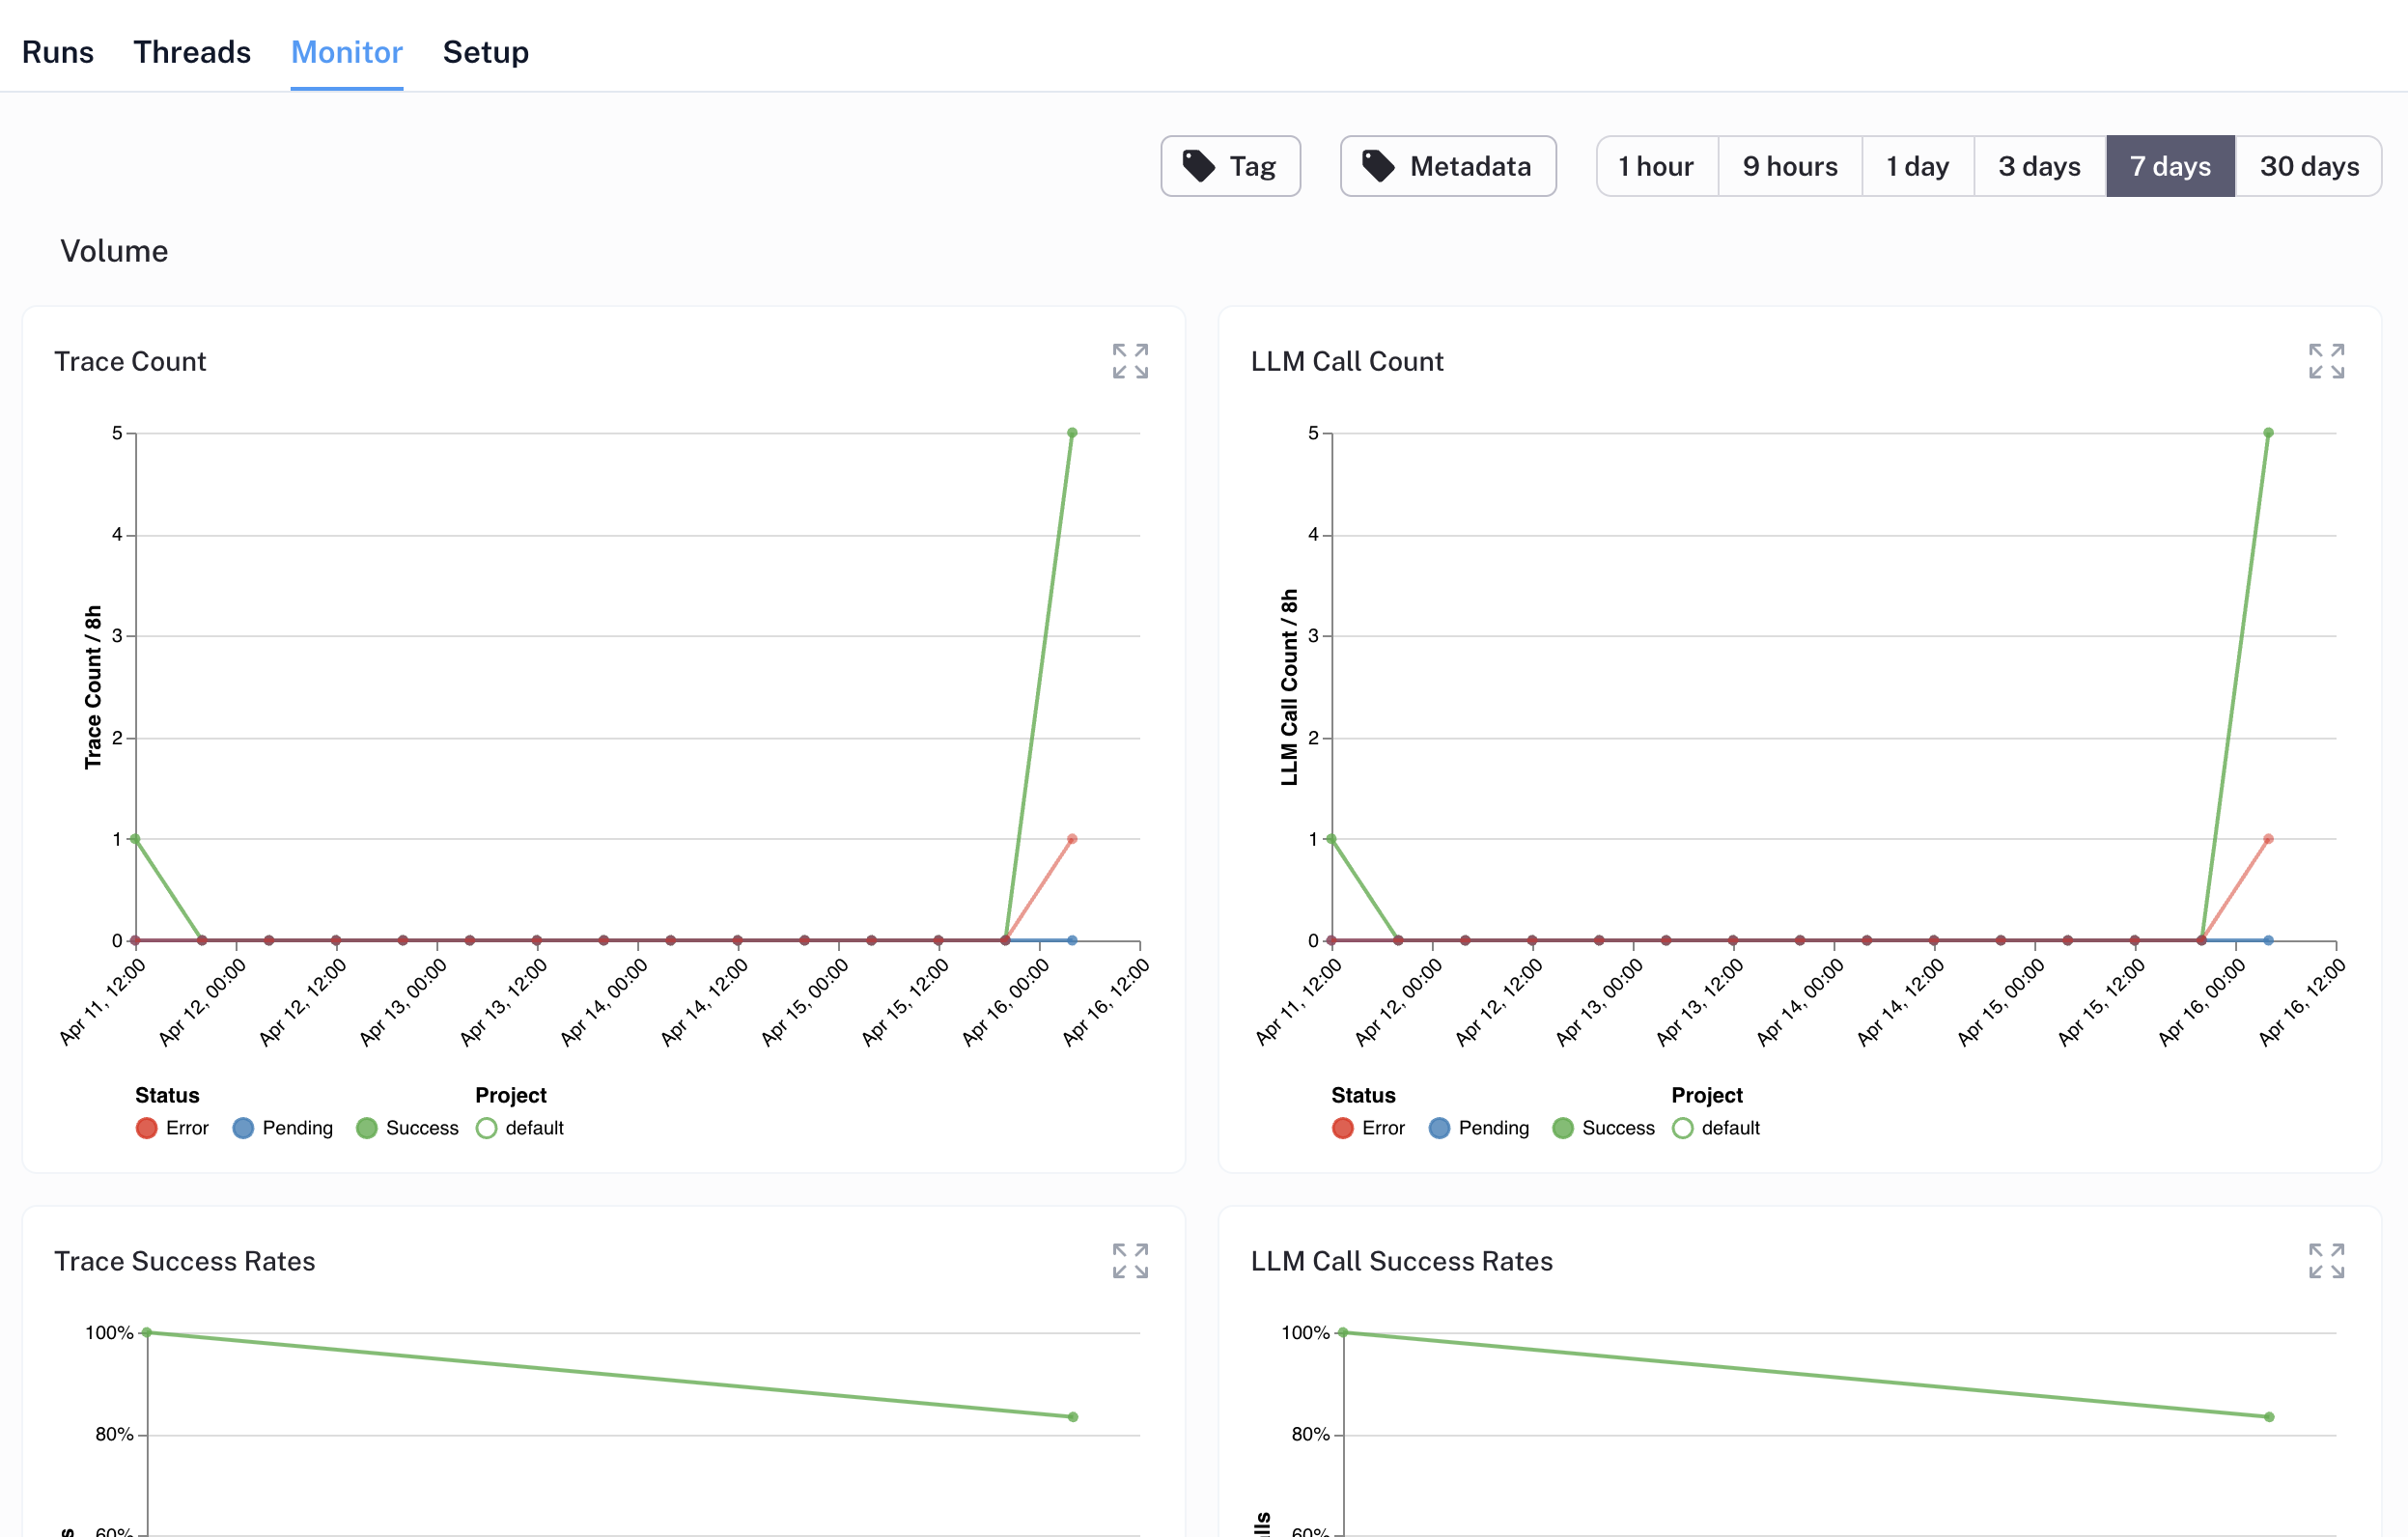
Integrate Langsmith
Production monitoring is crucial, especially for agent applications with indeterministic workflows based on user interactions. LangSmith, a LangChain tool for logging, debugging, and monitoring, helps track performance and handle edge cases. Learn more about LangSmith here. Set up LangSmith monitoring:- Add LangSmith to
cerebrium.tomldependencies - Create a free LangSmith account here
- Generate API key (click gear icon in bottom left)
@traceable decorator to your functions. LangSmith automatically tracks tool invocations and OpenAI responses through function traversal. Add the decorator to the predict function and any independently instantiated functions. Edit main.py to have the following:
- Data annotation for positive/negative case labeling
- Dataset creation for model training
- Online LLM-based evaluation (rudeness, topic analysis)
- Webhook endpoint triggers
- Additional features
Deploy to Cerebrium
To deploy this application to Cerebrium you can simply run the command: cerebrium deploy in your terminal. Just make sure to delete the name == “main” code since that was just to run locally. If it deployed successfully, you should see something like this: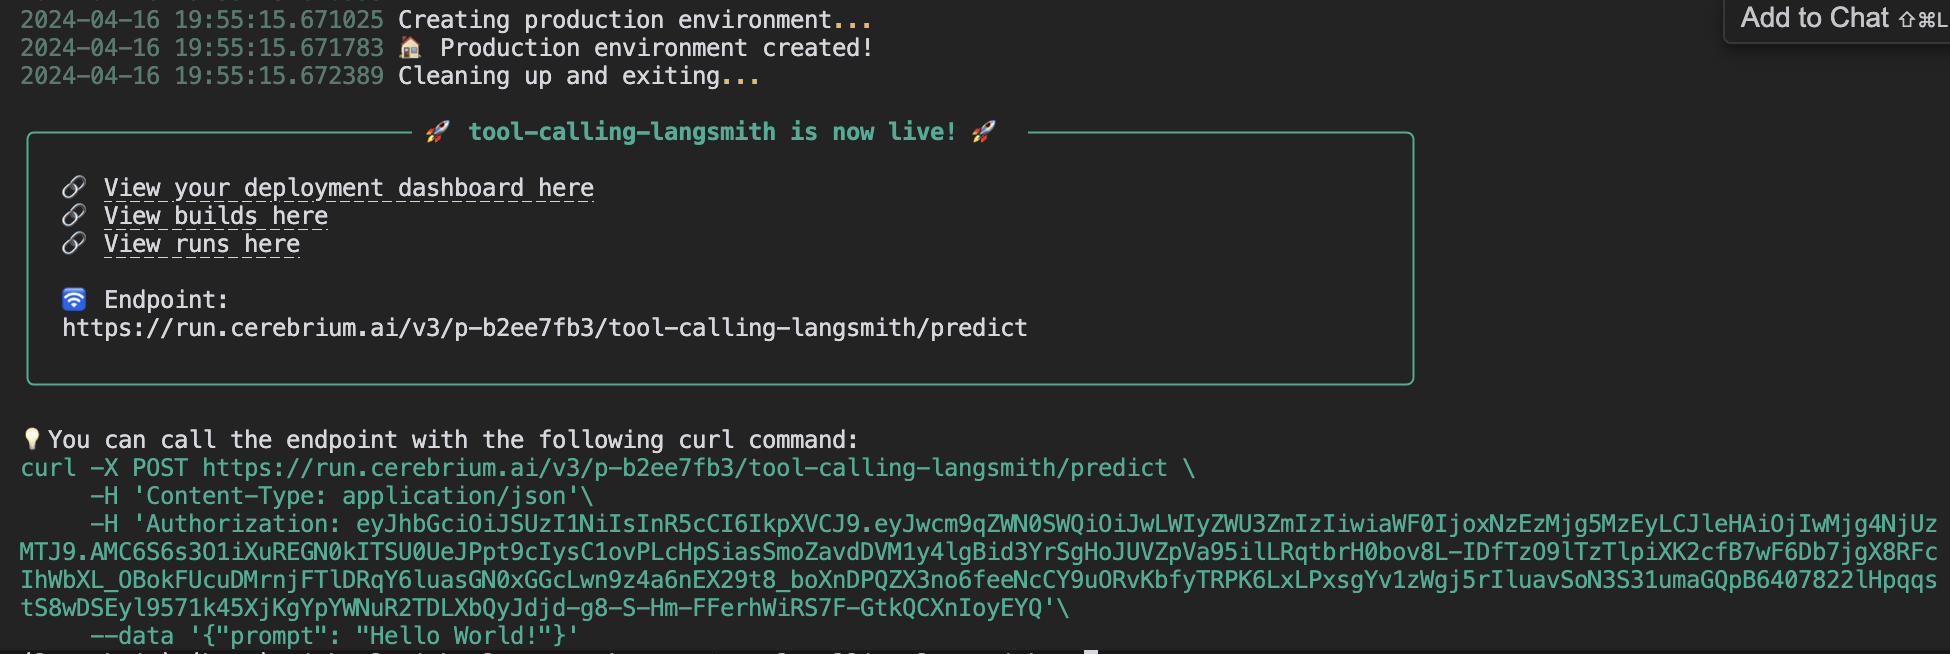
Future Enhancements
Consider implementing:- Response streaming for seamless user experience
- Email integration for context-aware scheduling when Claire is tagged
- Voice capabilities for phone-based scheduling