This example is only compatible with CLI v1.20 and later. Should you be making
use of an older version of the CLI, please run pip install --upgrade cerebrium to upgrade it to the latest version.
Basic Setup
Developing models with Cerebrium is similar to developing on a virtual machine or Google Colab, making conversion straightforward. Make sure you have the Cerebrium package installed and are logged in. If not, check our docs here.
First, create your project:
cerebrium init 2-sdxl-refiner
cerebrium.toml:
[cerebrium.deployment]
name = "3-sdxl-refiner"
python_version = "3.10"
include = ["./*", "main.py", "cerebrium.toml"]
exclude = ["./.*", "./__*"]

[cerebrium.hardware]
region = "us-east-1"
provider = "aws"
compute = "AMPERE_A10"
cpu = 2
memory = 16.0
gpu_count = 1

[cerebrium.scaling]
min_replicas = 0
max_replicas = 5
cooldown = 60

[cerebrium.dependencies.pip]
accelerate = "latest"
transformers = ">=4.35.0"
safetensors = "latest"
opencv-python = "latest"
diffusers = "latest"

[cerebrium.dependencies.conda]

[cerebrium.dependencies.apt]
ffmpeg = "latest"
main.py file for our Python code. This simple implementation can be done in a single file. First, let’s define our request object:
from typing import Optional
from pydantic import BaseModel
import torch
from diffusers import StableDiffusionXLImg2ImgPipeline
from diffusers.utils import load_image
import io
import base64

class Item(BaseModel):
    prompt: str
    url: str
    negative_prompt: Optional[str]
    conditioning_scale: float
    height: int
    width: int
    num_inference_steps: int
    guidance_scale: float
    num_images_per_prompt: int
prompt and url parameters are required, while all others are optional. Missing required parameters will trigger an automatic error message.
Instantiate model
We load the SDXL model outside the predict function since it only needs to be loaded once at startup. While the model downloads during initial deployment, it’s automatically cached in persistent storage for subsequent use.
pipe = StableDiffusionXLImg2ImgPipeline.from_pretrained(
    "stabilityai/stable-diffusion-xl-refiner-1.0", torch_dtype=torch.float16, variant="fp16", use_safetensors=True
)
pipe = pipe.to("cuda")
Predict Function
The predict function takes parameters from the request and passes them to the SDXL model to generate images. We convert images to base64 for direct JSON-serializable responses instead of writing to S3.
def predict(prompt, url, negative_prompt=None, conditioning_scale=0.5, height=512, width=512, num_inference_steps=20,
            guidance_scale=7.5, num_images_per_prompt=1):
    item = Item(
        prompt=prompt,
        url=url,
        negative_prompt=negative_prompt,
        conditioning_scale=conditioning_scale,
        height=height,
        width=width,
        num_inference_steps=num_inference_steps,
        guidance_scale=guidance_scale,
        num_images_per_prompt=num_images_per_prompt
    )

    init_image = load_image(item.url).convert("RGB")
    images = pipe(
        item.prompt,
        negative_prompt=item.negative_prompt,
        controlnet_conditioning_scale=item.conditioning_scale,
        height=item.height,
        width=item.width,
        num_inference_steps=item.num_inference_steps,
        guidance_scale=item.guidance_scale,
        num_images_per_prompt=item.num_images_per_prompt,
        image=init_image
    ).images

    finished_images = []
    for image in images:
        buffered = io.BytesIO()
        image.save(buffered, format="PNG")
        finished_images.append(base64.b64encode(buffered.getvalue()).decode("utf-8"))

    return {"images": finished_images}
Deploy
Deploy the model using this command:
After deployment, make this request:
curl --location 'https://api.aws.us-east-1.cerebrium.ai/v4/p-<YOUR PROJECT ID>/3-sdxl-refiner/predict' \
--header 'Content-Type: application/json' \
--header 'Authorization: Bearer <YOUR TOKEN HERE>' \
--data '{
    "url": "https://huggingface.co/datasets/patrickvonplaten/images/resolve/main/aa_xl/000000009.png",
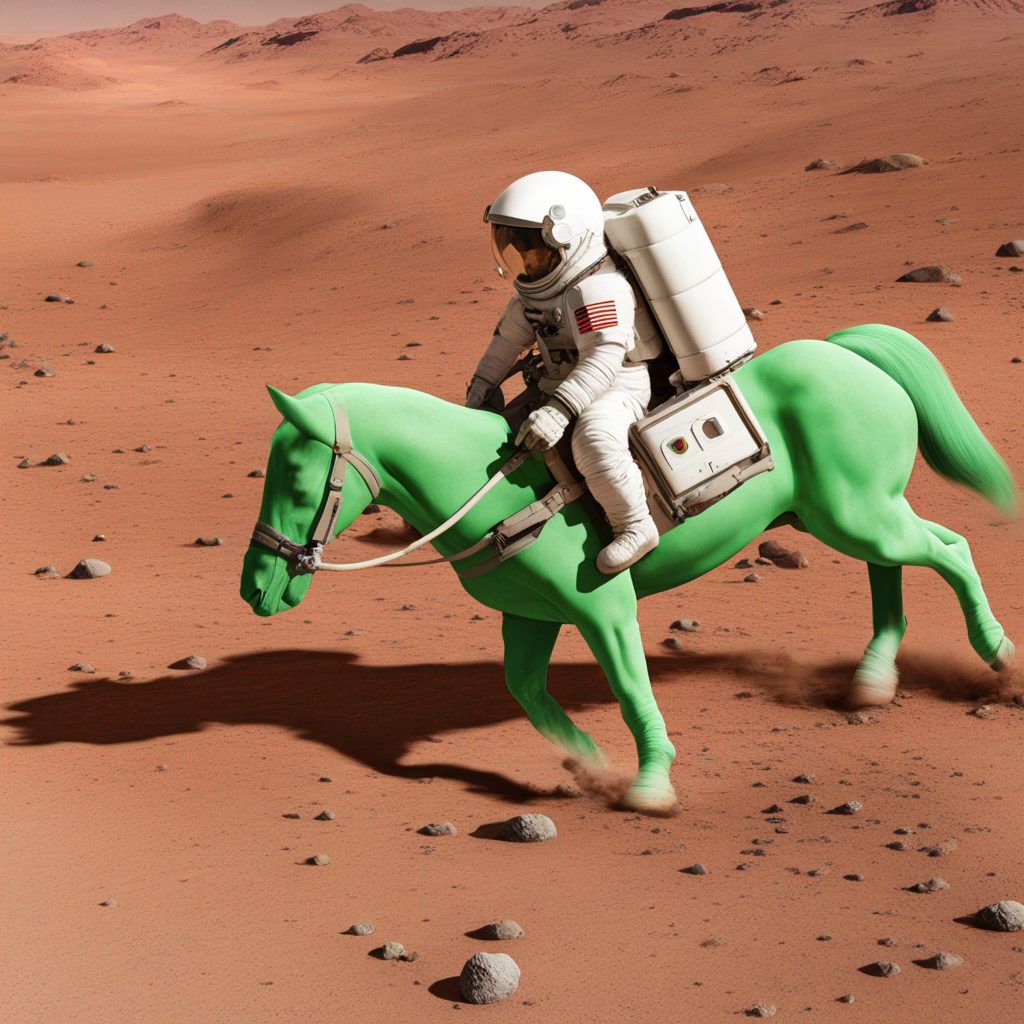
    "prompt": "a photo of an astronaut riding a horse on mars"
}''
{
    "run_id": "Gd2fLvweh1sHpdEQd4XnxYRvtGmghFxSg2rpbchK7wWAFeso9-sOVg==",
    "message": "Finished inference request with run_id: `Gd2fLvweh1sHpdEQd4XnxYRvtGmghFxSg2rpbchK7wWAFeso9-sOVg==`",
    "result": {
        "images": [
            <BASE64_ENCODED_STRING>
        ]
    },
    "status_code": 200,
    "run_time_ms": 4388.460874557495
}

