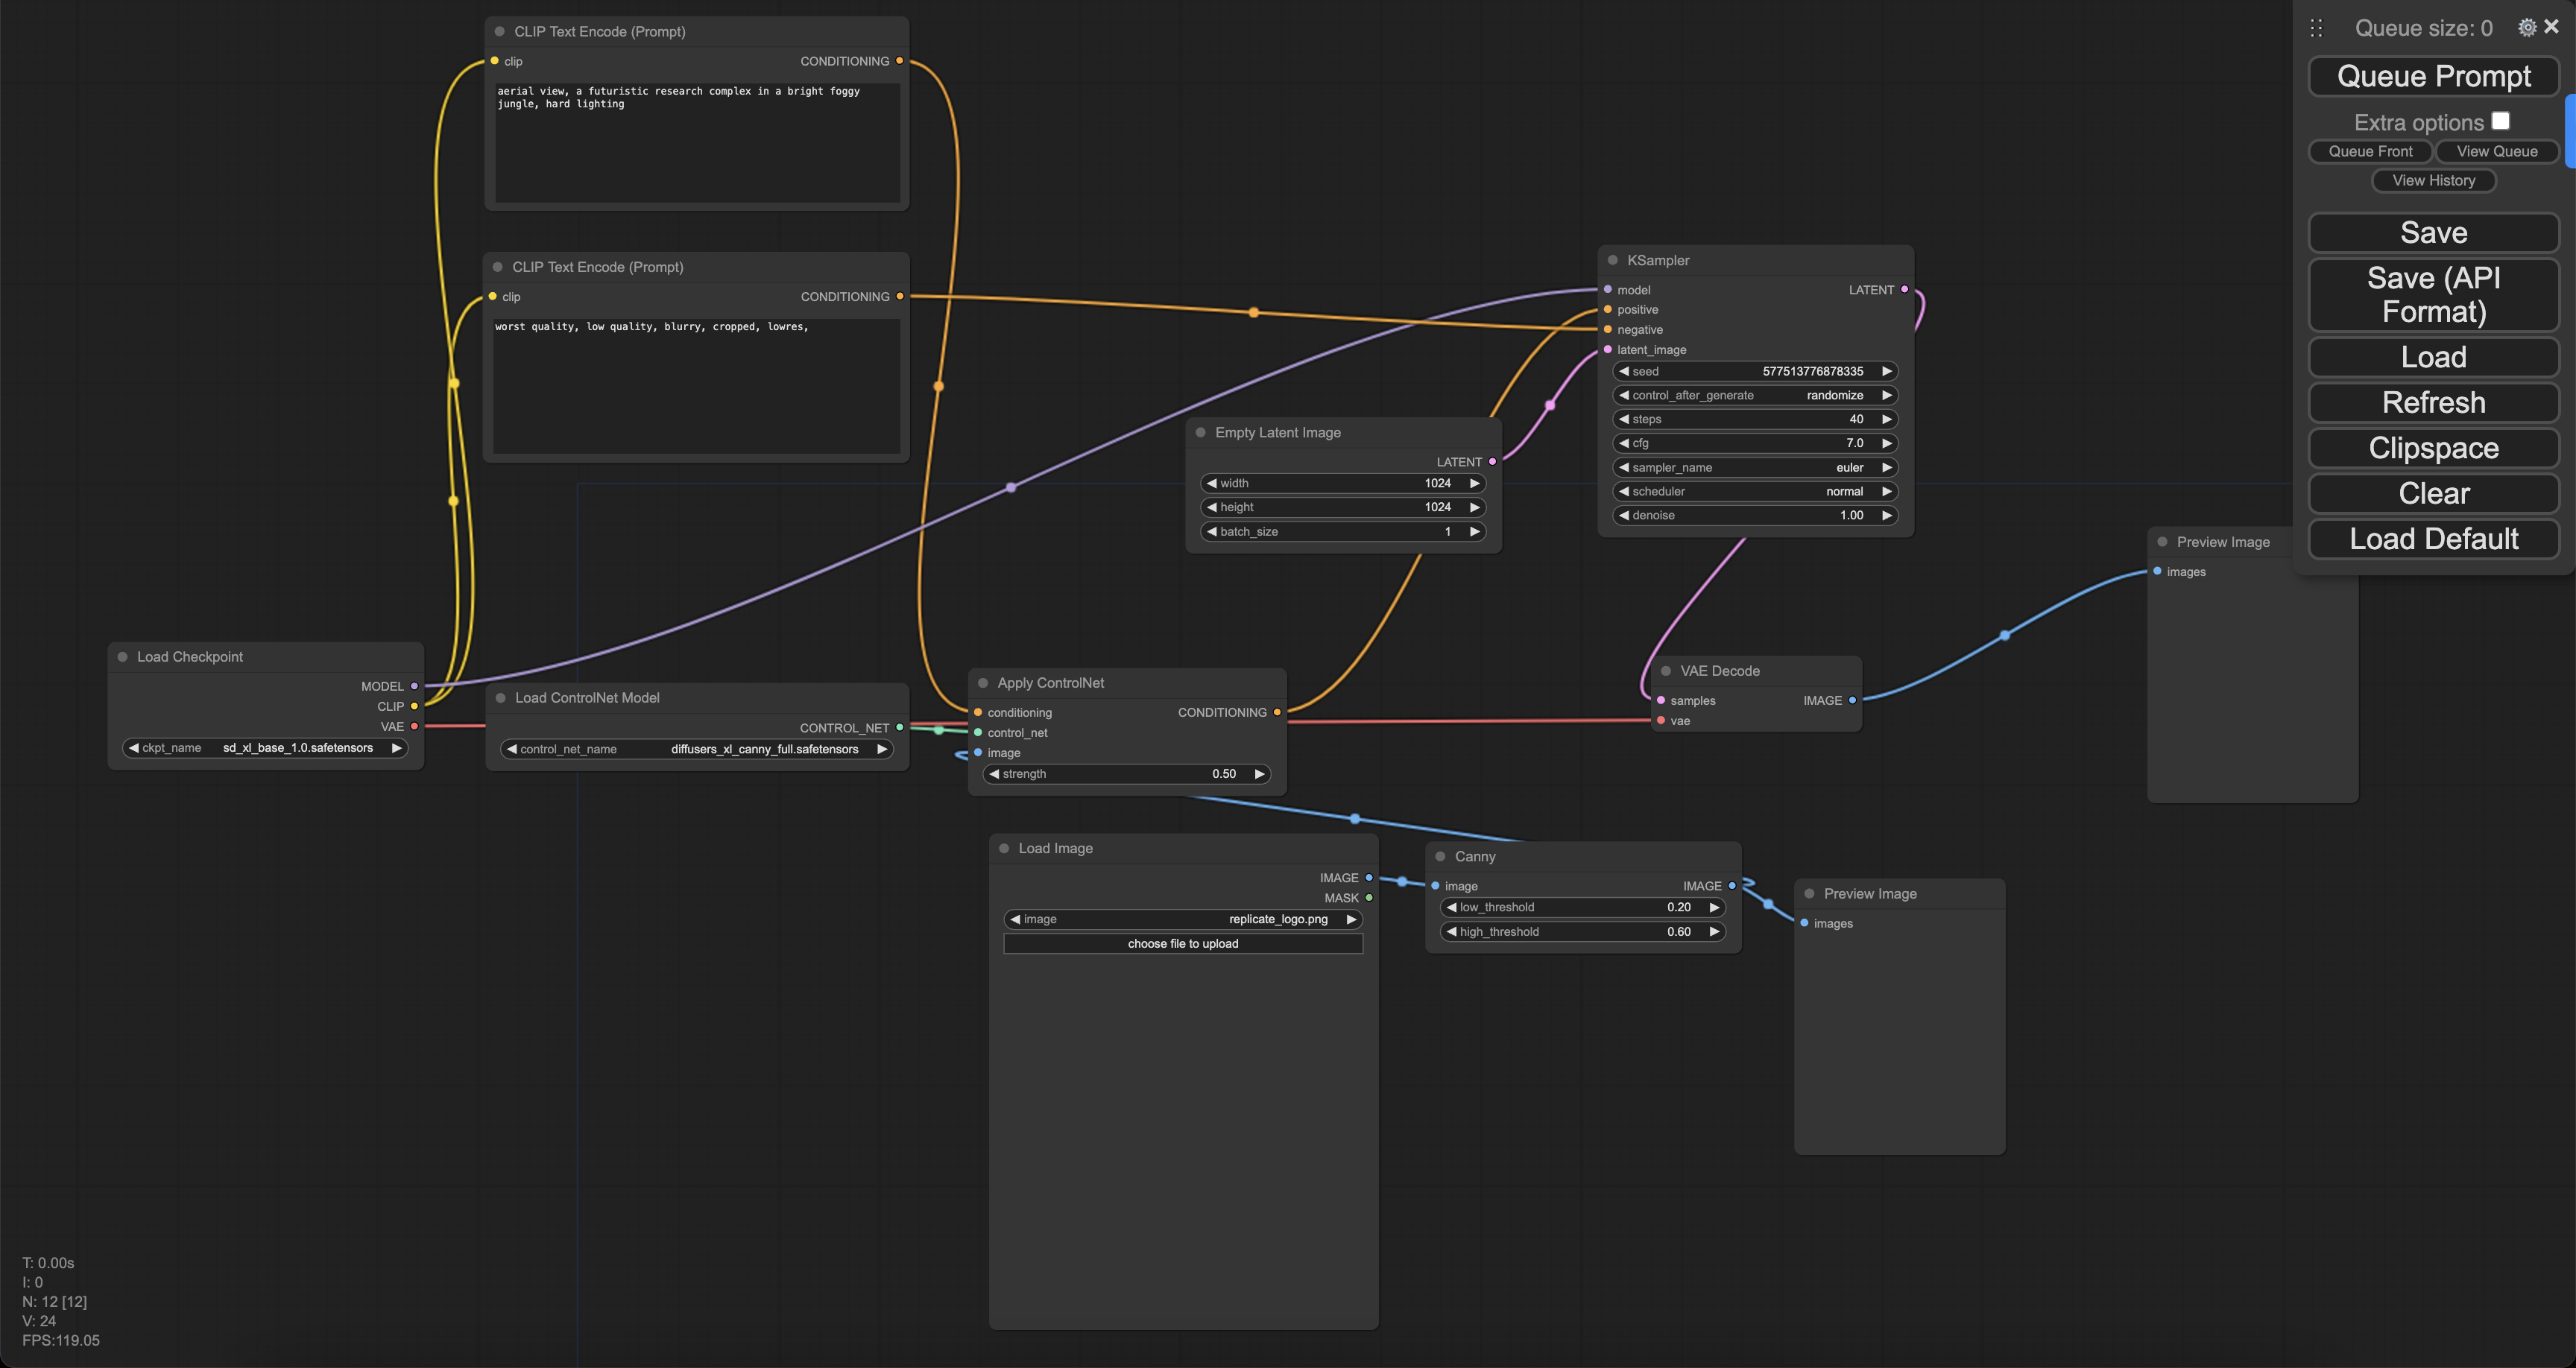
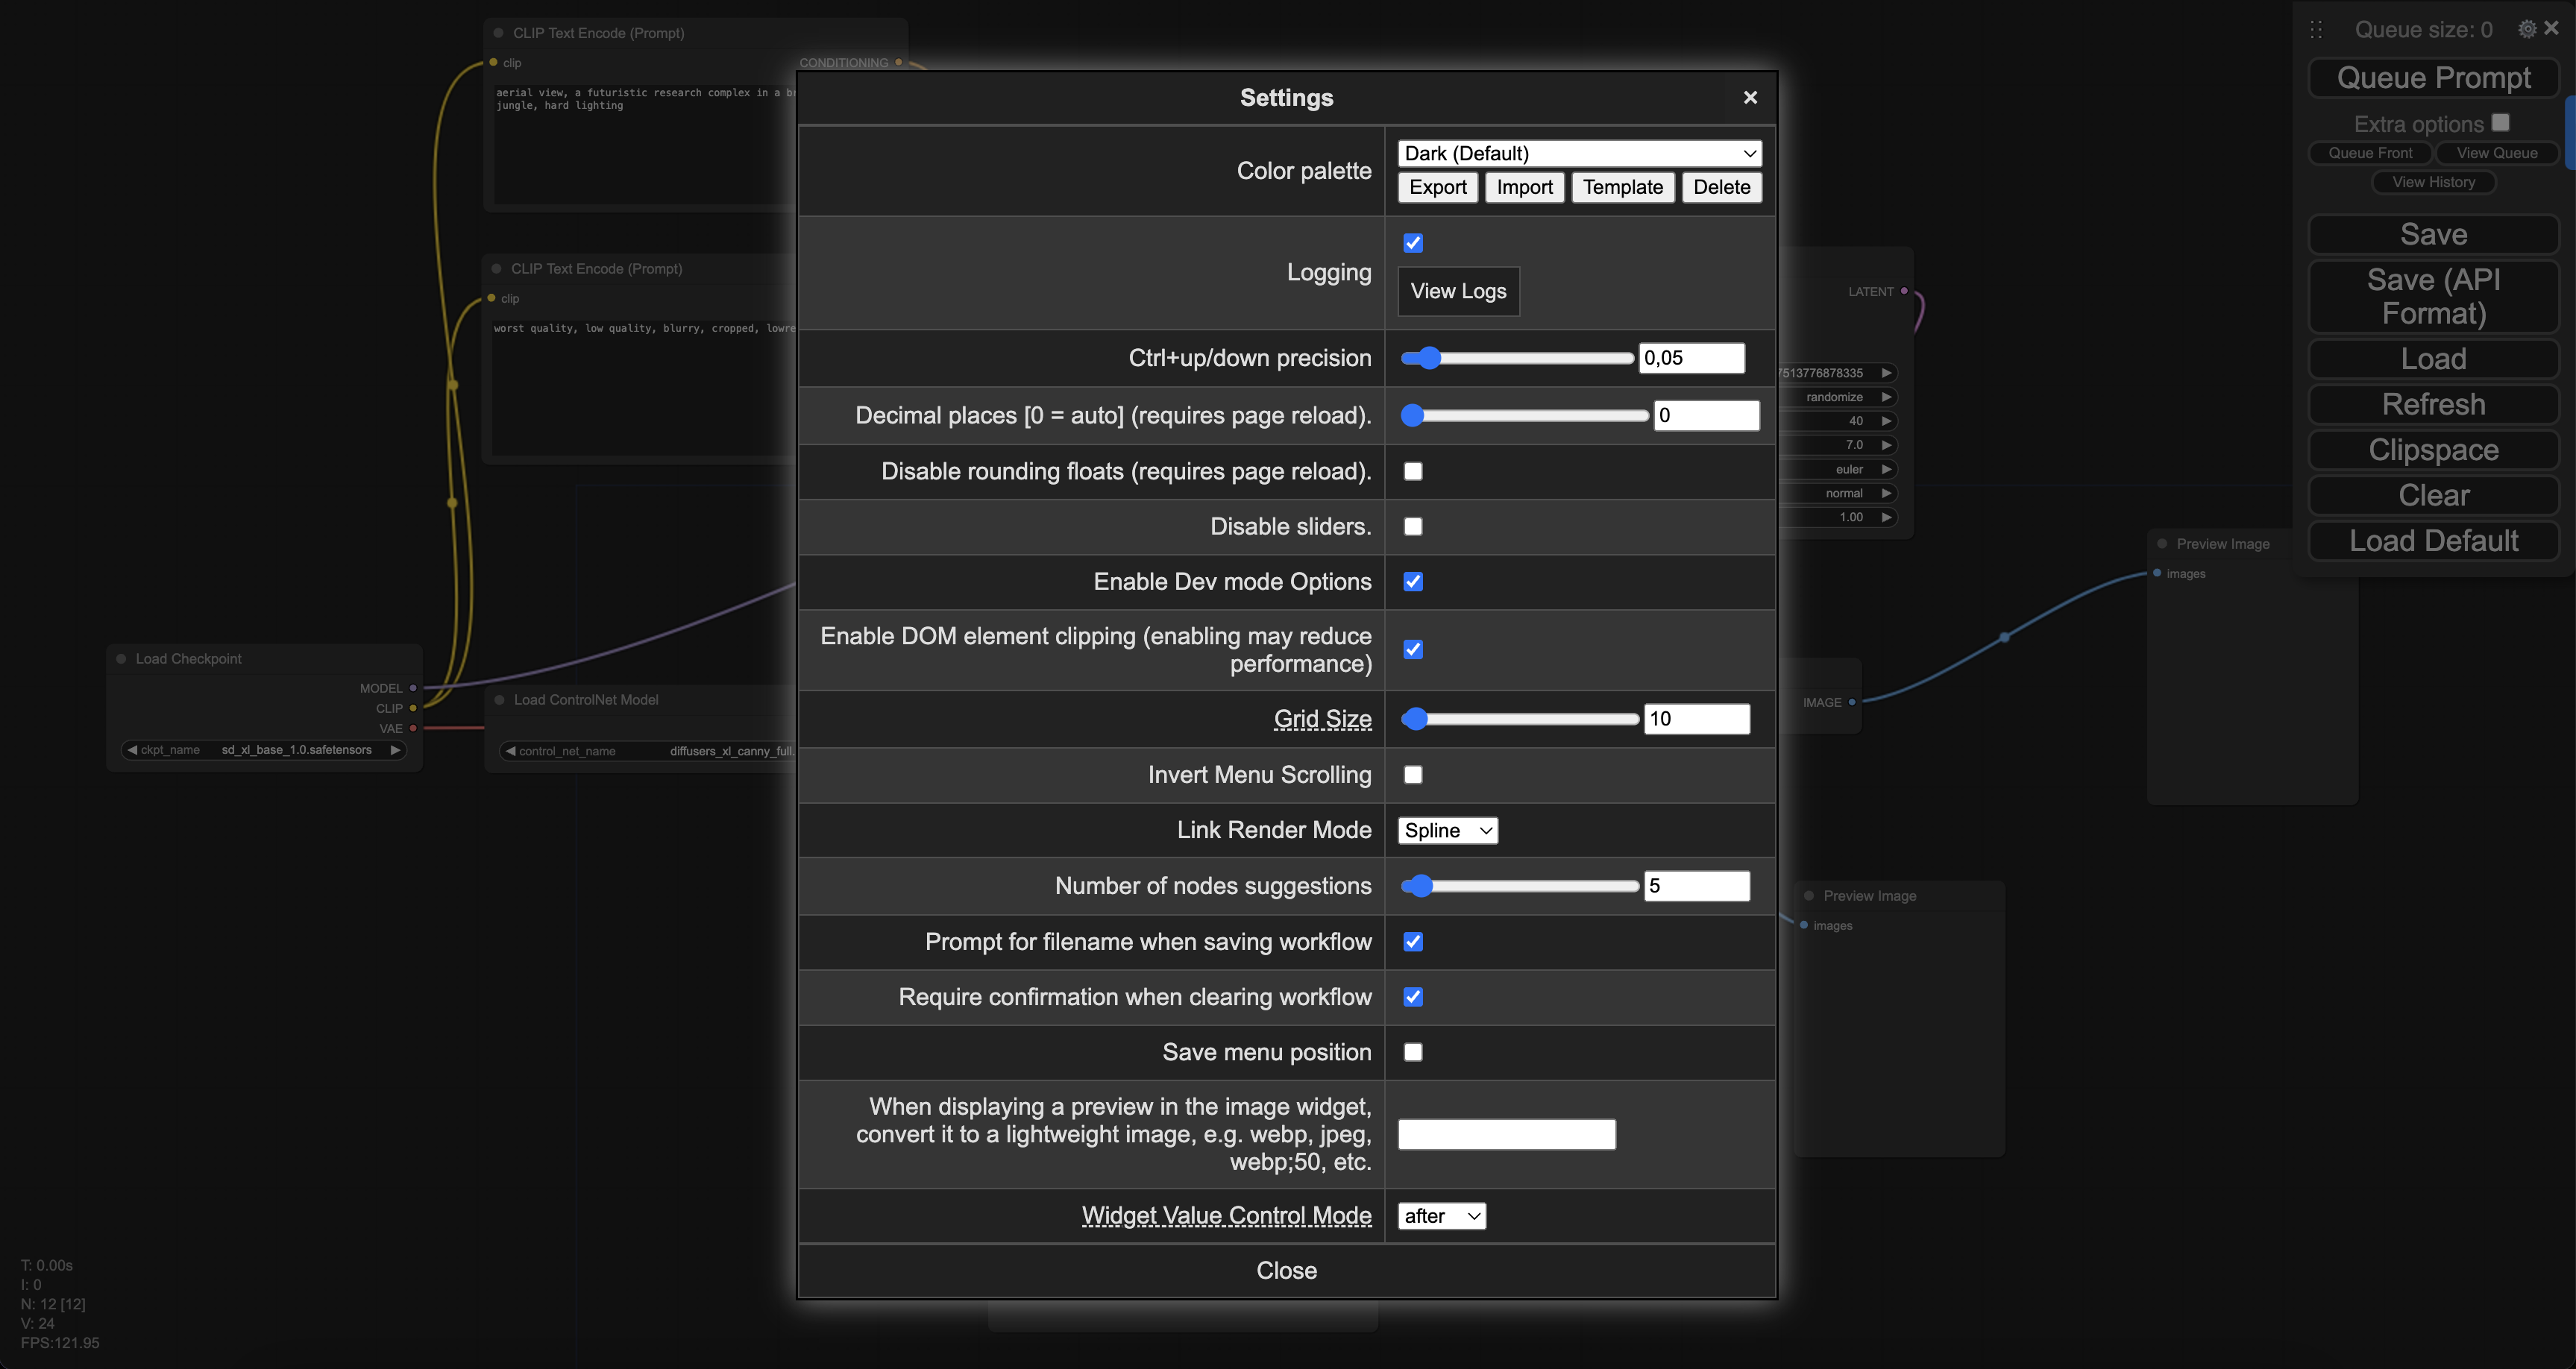
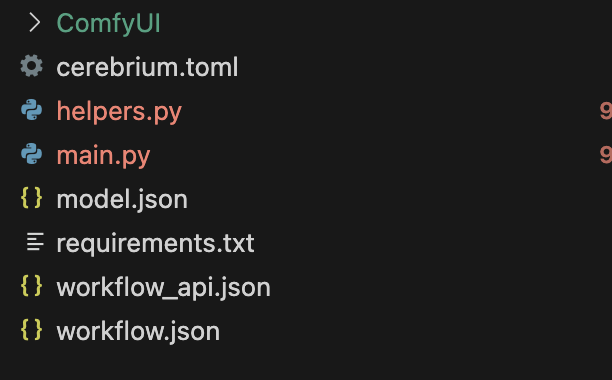
import copy
import json
import logging
import os
import signal
import time
import uuid
from contextlib import contextmanager
from multiprocessing import Process

import websocket
from fastapi import FastAPI, BackgroundTasks, HTTPException
from fastapi.middleware.cors import CORSMiddleware

from helpers import (
    convert_outputs_to_base64,
    convert_request_file_url_to_path,
    fill_template,
    get_images,
    setup_comfyui,
)

# Configure logging
logging.basicConfig(level=logging.INFO)
logger = logging.getLogger("comfyui-api")

# Initialize FastAPI app
app = FastAPI(title="ComfyUI API")
app.add_middleware(CORSMiddleware, allow_origins=["*"], allow_methods=["*"], allow_headers=["*"])

# Define configuration
server_address = "127.0.0.1:8188"
original_working_directory = os.getcwd()
json_workflow = None
side_process = None
WEBSOCKET_TIMEOUT = 60


@contextmanager
def websocket_connection():
    """Establish WebSocket connection to ComfyUI server with proper cleanup."""
    client_id = str(uuid.uuid4())
    ws = None

    try:
        ws = websocket.WebSocket()
        ws.settimeout(WEBSOCKET_TIMEOUT)
        ws.connect(f"ws://{server_address}/ws?clientId={client_id}")
        logger.info("WebSocket connected successfully")
        yield ws, client_id
    except Exception as e:
        logger.error(f"WebSocket connection error: {str(e)}")
        raise HTTPException(status_code=503, detail=f"ComfyUI server connection error: {str(e)}")
    finally:
        if ws:
            try:
                ws.close()
            except Exception:
                pass


def load_workflow_file(file_path: str) -> dict:
    """Load workflow JSON file."""
    try:
        with open(file_path, "r") as json_file:
            return json.load(json_file)
    except FileNotFoundError:
        logger.error(f"Workflow file not found: {file_path}")
        raise HTTPException(status_code=500, detail=f"Workflow file not found: {file_path}")
    except json.JSONDecodeError:
        logger.error(f"Invalid JSON in workflow file: {file_path}")
        raise HTTPException(status_code=500, detail=f"Invalid JSON in workflow file: {file_path}")


def cleanup_tempfiles(files):
    """Clean up temporary files."""
    for file in files:
        try:
            if hasattr(file, 'name') and os.path.exists(file.name):
                os.unlink(file.name)
        except Exception as e:
            logger.warning(f"Error cleaning up temp file: {str(e)}")


def terminate_process():
    """Terminate the ComfyUI process."""
    global side_process
    if side_process and side_process.is_alive():
        logger.info("Terminating ComfyUI process...")
        side_process.terminate()
        side_process.join(timeout=5)
        if side_process.is_alive():
            side_process.kill()


@app.on_event("startup")
async def startup_event():
    """Start ComfyUI server on application startup."""
    global json_workflow, side_process

    # Load workflow JSON
    json_workflow = load_workflow_file("workflow_api.json")
    logger.info("Loaded workflow from workflow_api.json")

    # Start ComfyUI process
    if side_process is None:
        side_process = Process(
            target=setup_comfyui,
            kwargs=dict(original_working_directory=original_working_directory, data_dir=""),
            daemon=True,
        )
        side_process.start()
        logger.info(f"Started ComfyUI process (PID: {side_process.pid})")

        for sig in [signal.SIGINT, signal.SIGTERM]:
            signal.signal(sig, lambda s, f: terminate_process())

        # Wait for ComfyUI to start
        max_attempts = 30
        for attempt in range(max_attempts):
            try:
                with websocket_connection() as (ws, _):
                    logger.info("Successfully connected to ComfyUI!")
                    break
            except Exception:
                logger.info(f"Waiting for ComfyUI to start... ({attempt + 1}/{max_attempts})")
                time.sleep(2)
        else:
            logger.warning("Could not confirm ComfyUI is running after multiple attempts")


@app.post("/run")
async def run(workflow_values: dict, background_tasks: BackgroundTasks):
    """Run a workflow with the provided template values."""
    # Process input values
    template_values, tempfiles = convert_request_file_url_to_path(workflow_values)
    background_tasks.add_task(cleanup_tempfiles, tempfiles)

    try:
        with websocket_connection() as (ws, client_id):
            # Apply template values to workflow
            json_workflow_copy = copy.deepcopy(json_workflow)
            json_workflow_copy = fill_template(json_workflow_copy, template_values)

            # Run workflow and get outputs
            outputs = get_images(ws, json_workflow_copy, client_id, server_address)

            # Process outputs to base64
            result = []
            for node_id in outputs:
                for unit in outputs[node_id]:
                    try:
                        file_name = unit.get("filename")
                        file_data = unit.get("data")
                        output = convert_outputs_to_base64(
                            node_id=node_id, file_name=file_name, file_data=file_data
                        )
                        result.append(output)
                    except Exception as e:
                        result.append({
                            "node_id": node_id,
                            "error": f"Failed to process output: {str(e)}",
                            "format": "error"
                        })

            return {"result": result, "status": "success"}
    except Exception as e:
        logger.error(f"Error running workflow: {str(e)}")
        raise HTTPException(status_code=500, detail=str(e))


@app.get("/health")
async def health_check():
    """Health check endpoint."""
    global side_process
    process_status = "running" if side_process and side_process.is_alive() else "not running"
    return {
        "status": "ok",
        "comfyui_process": process_status,
        "timestamp": time.time()
    }


@app.on_event("shutdown")
def shutdown_event():
    """Clean up on application shutdown."""
    logger.info("Application shutting down, cleaning up resources...")
    terminate_process()


