/persistent-storage and helps store model weights and files efficiently across deployments.
The
/persistent-storage directory is not directly accessible during build
time. Use the Cerebrium CLI commands or the mounted volume at runtime to
manage these files.Including Files in Deployments
Thecerebrium.toml configuration file controls which files become part of the app:
Managing Persistent Storage
The CLI provides four commands for working with persistent storage.At runtime, the volume is mounted at
/persistent-storage. When using these
commands, the Cerebrium CLI does not display the /persistent-storage/
portion of the path.-
Upload files with
cerebrium cp: -
List files with
cerebrium ls: -
Remove files with
cerebrium rm: -
Download files with
cerebrium download:
Using Stored Files
Access files in persistent storage at runtime:/persistent-storage/ path at runtime:
Remember that while the CLI commands don’t display the
/persistent-storage/
prefix in their output, your code must use the full path to access these files
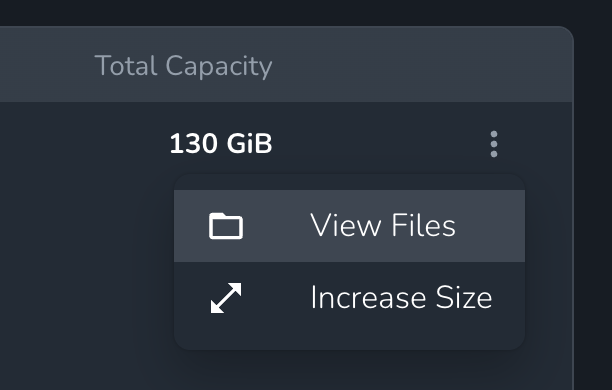
at runtime.Increasing Storage Capacity
The default 50GB persistent volume can be increased up to 1TB through self-service. The first 100GB is free, then $0.05 per GB per month.- Via Dashboard: Navigate to the project and select Volumes. Click the three-dot menu on the volume and select Increase Size.
- Via API: Use the resize volume endpoint:
Storage Quota Errors
If you hit your storage quota, you’ll see errors likeNo space left on device when trying to download or write files. To resolve this:
- Remove unnecessary files from
/persistent-storageusingcerebrium rm - Resize the volume to a larger capacity (up to 1TB self-service)
- Contact support for storage beyond 1TB